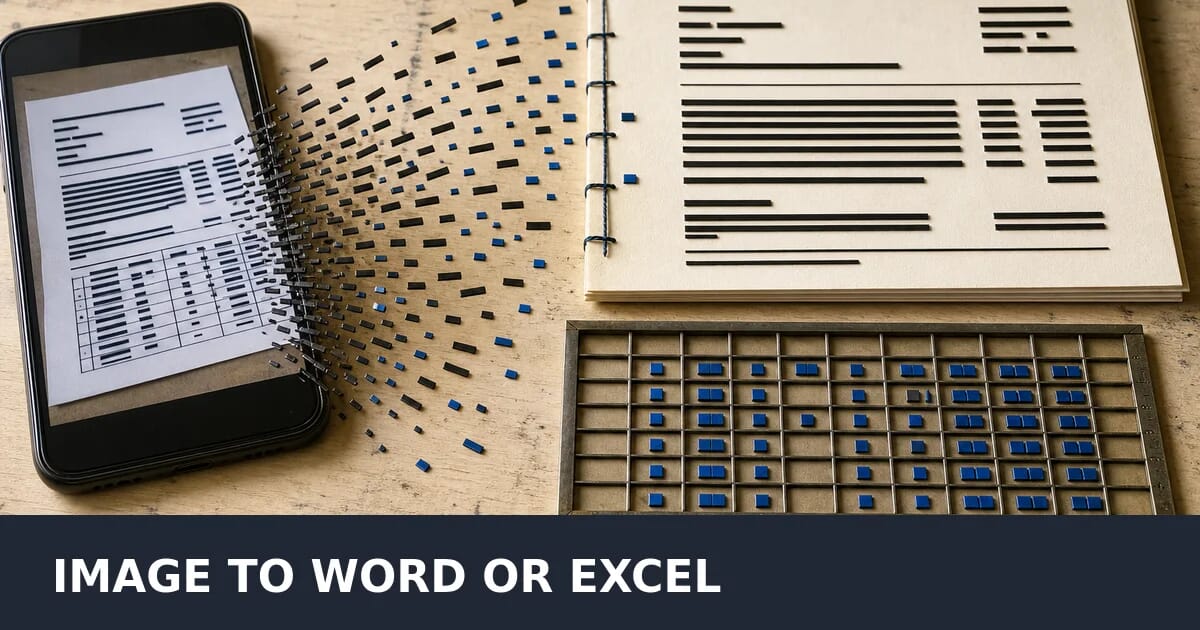
7 Ways to Turn an Image Into an Editable Word or Excel File
Get text and tables out of an image into Word, Excel or Google Docs, including Excel's Data From Picture and Tesseract TSV output.
Quick answer
Turning an image into editable Word or Excel content requires OCR and, for tables, layout recognition. Use a clear source, select the appropriate language, and check row boundaries, numbers, and formulas after export. Placing an image inside a document does not make its contents editable.
Reference for this answer: Tesseract OCR documentation.
Getting text out of an image is a solved problem. Getting structure out — a table that lands in real spreadsheet cells, a document that keeps its headings — is a different and much harder task, and it is what most people actually want.
This guide covers seven routes, sorted by what you are trying to recover. If you only need the words, our extracting text from an image guide is the shorter answer; this one is about editable documents.
Pick Your Method First
| # | Method | Best for | Cost | Keeps tables? |
|---|---|---|---|---|
| 1 | Google Drive and Docs | Editable documents | Free | Poorly |
| 2 | Excel Data From Picture | Tables into cells | Included | Yes |
| 3 | Microsoft Lens | Phone captures | Free | Partly |
| 4 | OneNote and Word | Already inside Office | Included | Poorly |
| 5 | Adobe Acrobat | Scanned documents | Subscription | Yes |
| 6 | Tesseract TSV | Scripted, positional | Free | Reconstructable |
| 7 | Vision language models | Messy layouts | Per call | Yes |
The Problem Nobody Warns You About
OCR returns characters and their positions. It does not return a document.
That distinction is the whole difficulty. A recognition engine looking at a printed invoice sees a hundred text fragments with coordinates. Whether those fragments form a table with four columns, a two-column magazine layout, or a heading followed by a paragraph is a separate inference, and most engines either do it badly or do not attempt it.
So the practical question is not “which OCR is most accurate” but “which tool preserves the structure I need”:
| You want | Realistic expectation |
|---|---|
| Plain text | Excellent from every method |
| Paragraphs and headings | Good from Google Docs and Acrobat |
| A table in real cells | Only Excel’s feature and VLMs do this well |
| Exact visual layout | Do not expect it from any of them |
If your source is a table, skip straight to method 2 or method 7. The general-purpose OCR routes will hand you loose text where the columns used to be, and reassembling it by hand takes longer than retyping.
Get a Good Capture First
Every method below improves sharply with a better source image, and the improvement is larger than the difference between engines.
- 300 DPI or better. For a phone photo, that means filling the frame with the page.
- Straight on. Perspective distortion breaks line detection. Use a scanner app that corrects it — Google Drive’s scanner or Microsoft Lens both do.
- Even lighting. A shadow across a page reads as a smudge of missing characters.
- PNG, not JPG. JPEG artifacts cluster around letter edges and measurably reduce accuracy.
- Grayscale is fine, and smaller.
If your source is a PDF, do not photograph the screen. Render it properly at 300 DPI — see our PDF to image guide — or better, try pdftotext first, since the text may already be in the file.
1. Google Drive and Google Docs
The best free route for a document, and the one behind most “jpg to word” searches.
- Upload the image or PDF to Google Drive
- Right-click → Open with → Google Docs
- Drive runs OCR and produces a Doc with the original image at the top and the extracted text below
- File → Download → Microsoft Word (.docx) if you need Word
What it keeps: paragraphs, and often headings and bold. Multi-page PDFs work.
What it loses: tables become loose lines of text. Columns get interleaved. Images inside the document are dropped.
Limits: files up to about 2 MB give the best results; larger scans get downsampled before recognition, which lowers accuracy. Counter-intuitively, a smaller well-cropped image often beats a large one.
2. Excel’s Data From Picture
The only mainstream feature built specifically to produce cells, and it is genuinely good.
Excel for Windows and Mac (Microsoft 365): Data → From Picture → Picture From File or Picture From Clipboard.
Excel mobile, which handles the capture too: Insert → Data From Picture, then photograph the table.
Excel analyses the image for row and column structure, then shows you a review pane. Cells it is unsure about are highlighted, and you confirm or correct each one before inserting. That review step is what makes it trustworthy — you are not silently importing wrong numbers.
Good for: printed tables, financial statements, screenshots of tables from systems that will not export, price lists, timetables.
Tips that materially improve the result:
- Crop tightly to the table, excluding surrounding text
- Make sure gridlines or clear column spacing are visible
- Keep the table upright and unrotated
- Split very wide tables into two captures rather than shrinking them
Limits: merged cells confuse it. Tables spanning pages need separate captures. Handwriting is unreliable.
3. Microsoft Lens
Free on iOS and Android, and it is the best capture-side tool on this list.
- Open Lens, choose the Document mode
- Photograph the page — it detects edges, corrects perspective and cleans the lighting automatically
- Choose the output: Word, PDF, Excel or PowerPoint
- It uploads to your OneDrive, runs recognition, and saves an editable file
The perspective correction is the reason to use it. A page photographed at an angle recognises far worse than a flattened one, and Lens does that flattening better than a plain camera app.
Table mode exports to Excel with cell structure, using the same engine as method 2.
Limits: requires a Microsoft account and processes in the cloud, so it is unsuitable for confidential material.
4. OneNote and Word
Useful when you are already inside Office.
OneNote: paste the image into a page, right-click it, choose Copy Text from Picture. OneNote also indexes text inside images, so pasted screenshots become searchable in your notes — a genuinely useful side effect.
Word: open a scanned PDF directly in Word and it offers to convert it into an editable document, running OCR as part of the conversion. Fidelity varies with the source: a clean digital PDF converts well, a photographed page poorly.
Limits: neither preserves tables reliably. Both are conveniences rather than tools you would build a workflow on.
5. Adobe Acrobat
The paid answer, and the strongest on scanned documents specifically.
- Scan & OCR → Recognize Text adds an invisible text layer over the scan, keeping the visual appearance while making it searchable, selectable and readable by screen readers
- Export PDF → Microsoft Word or Microsoft Excel produces an editable file
- Action Wizard runs the whole thing across a folder
Acrobat’s table detection in the Excel export is better than the free options, though still short of Excel’s own From Picture feature for a photographed table.
The searchable-PDF output is the underrated part. A scanned document with a text layer stays visually identical while becoming searchable and accessible — often more useful than a lossy conversion into Word.
6. Tesseract, With Positions
The scripted route, and the one that lets you rebuild structure yourself.
sudo apt install tesseract-ocr
brew install tesseract

# Plain text
tesseract page.png output

# TSV: every word with its coordinates and confidence
tesseract page.png output tsv

# Searchable PDF: the image with an invisible text layer
tesseract page.png output pdf

# HOCR: HTML with position data, which converts to other formats
tesseract page.png output hocr
The TSV output is the interesting one. Each row carries left, top, width, height, conf and text. Words sharing a top value are on the same line; clusters of left values reveal the columns. That is enough to reconstruct a table:
import csv
from collections import defaultdict

rows = defaultdict(list)
with open("output.tsv") as handle:
    for row in csv.DictReader(handle, delimiter="\t"):
        if row["text"].strip() and int(row["conf"]) > 60:
            # Group words into lines by vertical position, 10px tolerance
            line = round(int(row["top"]) / 10)
            rows[line].append((int(row["left"]), row["text"]))

for line in sorted(rows):
    words = [text for _, text in sorted(rows[line])]
    print(",".join(words))
Page segmentation mode matters more than anything else here. --psm 6 treats the image as a single uniform block, which is right for a table. --psm 4 assumes a single column of variable-size text. The default tries to detect the layout and often gets tables wrong.
tesseract table.png output --psm 6 tsvGood for: repeatable jobs on consistently formatted documents, and anything that must stay on your own machine.
Limits: you are writing the structure logic. Worth it for a thousand identical invoices, not for one table.
7. Vision Language Models
The newest option, and the strongest on messy layouts where classic OCR gives up.
Send the image to a multimodal model and ask for a specific output format:
Extract this table as CSV. Preserve the column order. Use an empty string for blank cells. Return only the CSV, with no commentary.
Where it beats classic OCR:
- Tables with merged cells, nested headers or inconsistent spacing
- Handwriting, which Tesseract handles poorly
- Forms, where you can ask for specific fields by name rather than parsing everything
- Context-dependent reading — it can infer that a smudged digit is a 3 because the column sums correctly
You can also ask directly for Markdown, JSON matching a schema, or HTML, which removes the reconstruction step entirely.
The caveat that matters: a language model can produce plausible text that is not in the image. Classic OCR fails visibly, producing garbage you can see is wrong. A model fails invisibly, producing a clean number that is simply not the one on the page.
For anything where the values matter — invoices, financial statements, lab results, legal documents — check the output against the source. Ask for confidence flags on uncertain cells, cross-check totals, and never import a batch unreviewed.
Which Route for Which Source?
| Source | Use |
|---|---|
| Printed table | Excel From Picture |
| Screenshot of a table | Excel From Picture, or a VLM |
| Scanned multi-page document | Acrobat, or Google Drive |
| Photograph of a page | Microsoft Lens, then Word |
| Handwritten notes | A vision language model |
| A thousand identical forms | Tesseract TSV, scripted |
| Anything confidential | Tesseract, locally |
| A PDF that might have text already | pdftotext first |
Do Not Do This to a PDF That Already Has Text
Worth repeating, because it wastes a lot of people’s time. If your source is a PDF produced by a computer rather than a scanner, the text is already inside it and no recognition is needed.
pdftotext -layout document.pdf output.txtIf that produces readable text, you are finished. Rasterizing the pages and running OCR on them would throw away perfect text and guess it back imperfectly.
Accessibility Is Not the Same Thing
A related point, since these tasks look similar. Running OCR over an image does not make it accessible. A screen reader announces the alt attribute, not text your engine happened to recognise.
If the image contains information, write real alt text, or better, present the content as actual HTML text. Our alt text guide and accessible images guide cover the difference.
Summary
The Seven Methods
| # | Method | Use it when |
|---|---|---|
| 1 | Google Drive and Docs | A free editable document |
| 2 | Excel Data From Picture | A table that must land in cells |
| 3 | Microsoft Lens | Capturing with a phone |
| 4 | OneNote and Word | You are already in Office |
| 5 | Adobe Acrobat | Scanned documents at volume |
| 6 | Tesseract TSV | Scripted, local, repeatable |
| 7 | Vision language models | Messy layouts and handwriting |
Checklist
- ✅
pdftotextwas tried first, if the source was a PDF - ✅ The capture is 300 DPI, straight on, evenly lit and saved as PNG
- ✅ Tables went to Excel’s From Picture or a VLM, not general OCR
- ✅ Tesseract used
--psm 6on tabular content - ✅ Confidential documents stayed on local tools
- ✅ Model output was checked against the source before use
- ✅ Accessibility was handled with real alt text, not OCR
For a table, use Excel’s Data → From Picture. For a document, upload to Google Drive and open it with Docs. Those two cover most of what people are asking for, and both are already paid for.
Sources
Related Resources
Related Guides
9 Ways to Extract Text From an Image (OCR Methods Compared)
9 Ways to Convert a PDF to JPG or PNG (Without Losing Quality)
9 Ways to Convert an Image to PDF (JPG, PNG and HEIC)
Screenshots and Documentation Images: Optimization Guide
Accessible Images for Screen Readers: A Developer's Guide
12 Image File Types Explained: When to Use Each