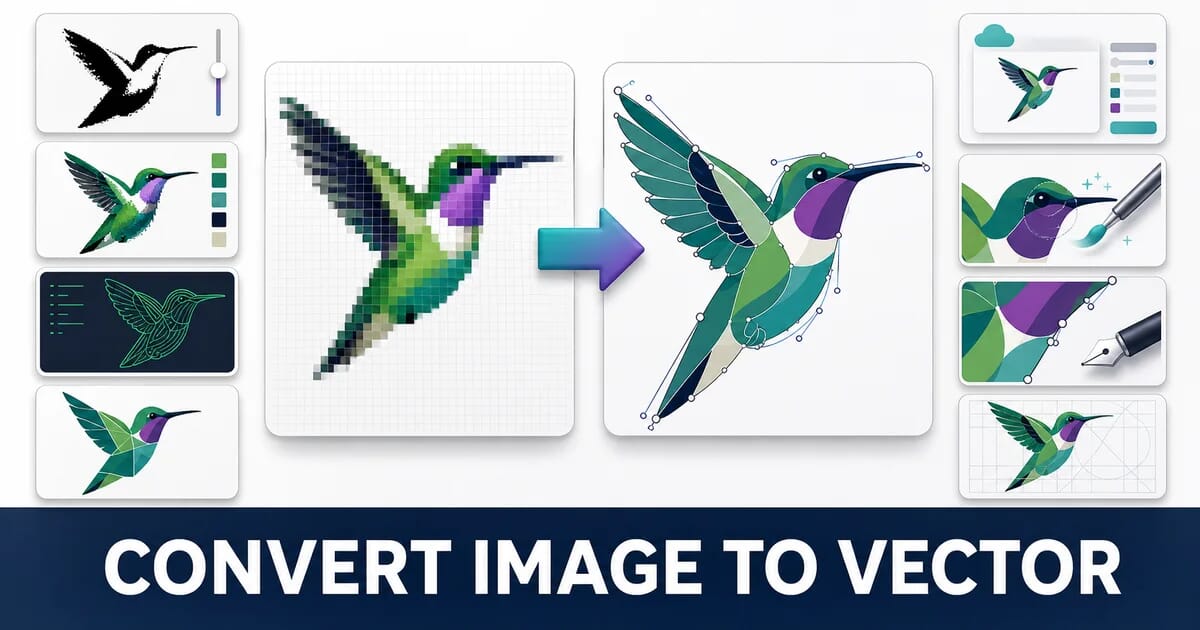
8 Ways to Convert an Image to Vector (JPG and PNG to SVG)
Turn a JPG or PNG into a vector with Inkscape, Illustrator, potrace, VTracer or a manual redraw - and see when tracing is the wrong answer.
Disclosure: ImageGuide is published by Sirv, an image CDN company. This guide mentions Sirv products. Read how we write these guides.
“Convert this JPG to a vector” is usually asked for one of two reasons: a logo arrived as a low-resolution PNG and needs to be printed large, or an icon needs to stay crisp on every screen density.
Both are solvable. But it helps to be clear about what is actually happening, because the word “convert” oversells it.
What Tracing Actually Does
A raster image is a grid of coloured squares. A vector image is a set of mathematical shapes. There is no formula that recovers the second from the first, because the original shapes are gone.
What a tracer does is guess: it finds boundaries between colour regions and fits curves along them. On a two-colour logo with hard edges, that guess is close to perfect. On a photograph, it produces thousands of meaningless blobs.
| Source | Tracing result |
|---|---|
| Two-colour logo, clean edges | Near perfect |
| Flat illustration, few colours | Very good |
| Icon or line drawing | Very good |
| Screenshot of a UI | Poor, text becomes shapes |
| Logo with a gradient | Fair, gradients become bands |
| Photograph | Useless and enormous |
Keep that table in mind. Six of the eight methods below are tracers, and none of them beats the physics.
1. Inkscape Trace Bitmap
Free, open source, cross-platform. The best starting point for most people, and it is genuinely competitive with paid tools.
- File → Import, place your PNG or JPG
- Select it, then Path → Trace Bitmap (
Shift + Alt + B) - Choose a mode, adjust, click Apply
- Delete the original raster underneath
- File → Save As → Plain SVG (not Inkscape SVG, which adds editor metadata)
The Modes That Matter
| Mode | What it does | Use for |
|---|---|---|
| Brightness cutoff | One threshold, two colours | Black-and-white logos, silhouettes |
| Edge detection | Traces edges rather than fills | Line art, outlines |
| Colour quantization | Splits into N flat colours | Flat multi-colour illustrations |
| Multiple scans → Colours | Stacked paths, one per colour | Full-colour logos |
| Multiple scans → Greys | Stacked grey levels | Monochrome shading |
For a typical two-colour logo, Brightness cutoff with the threshold around 0.45 to 0.55 and Smooth corners enabled gets you most of the way. Turn on Live Preview and move the threshold slider until the counters in letters like e and a are open but the thin strokes have not broken.
Clean Up After Tracing
Tracing produces far more nodes than the shape needs.
- Select the path, press
Ctrl + L(Path → Simplify) once, and look carefully - Press it again only if the shape survives
- Use the Node tool (
N) to delete stray nodes on straight segments
Every node you remove makes the file smaller and the curves cleaner.
2. Adobe Illustrator Image Trace
Subscription. The most controllable tracer, and the one most agencies will expect.
- Place the image, select it
- Window → Image Trace, or use the Image Trace button in the control bar
- Pick a preset, then open the panel and adjust
- Click Expand to turn the preview into real editable paths
The Presets, Translated
| Preset | Really means |
|---|---|
| Black and White Logo | Two colours, high threshold |
| 3 Colors / 6 Colors / 16 Colors | Colour quantization at that count |
| Sketched Art / Line Art | Edge-following, keeps strokes |
| High Fidelity Photo | Thousands of paths. Do not use this. |
| Low Fidelity Photo | Still hundreds of paths. Also do not. |
The Three Sliders
- Threshold (black-and-white mode): where the cut between black and white falls
- Paths: higher follows the source more tightly, at the cost of more nodes
- Corners: higher preserves sharp corners, lower rounds everything
Noise deserves special mention. Raise it to make the tracer ignore small speckles, which is exactly what you want on a scanned or JPEG-compressed source.
After Expand, run Object → Path → Simplify and watch the node count in the dialog.
3. potrace
Free, open source, command line. The engine underneath Inkscape’s black-and-white tracing, usable directly and scriptable.
potrace takes bitmap input, so convert first:
# PNG → PBM → SVG
magick logo.png -colorspace Gray -threshold 50% logo.pbm
potrace logo.pbm -s -o logo.svg

# One line
magick logo.png -colorspace Gray -threshold 50% pbm:- | potrace -s -o logo.svg
The Options Worth Knowing
potrace logo.pbm -s \
  --turdsize 5 \        # ignore specks smaller than 5 pixels
  --alphamax 1.0 \      # corner threshold: 0 = all corners, 1.34 = all smooth
  --opttolerance 0.2 \  # curve optimisation tolerance
  -o logo.svg
--turdsize is the one that saves you. On a scan or a JPEG, raising it from the default removes the dust specks that would otherwise become dozens of tiny paths.
Batch a Folder
for f in logos/*.png; do
  magick "$f" -colorspace Gray -normalize -threshold 50% pbm:- \
    | potrace -s --turdsize 4 -o "svg/$(basename "${f%.*}").svg"
done
potrace is black-and-white only. For colour, use the next one.
4. VTracer
Free, open source, command line and web. A Rust tracer built for full-colour images, and noticeably better than older colour tracers on flat illustrations.
cargo install vtracer

# Colour illustration
vtracer --input art.png --output art.svg --colormode color --mode spline

# Black and white logo
vtracer --input logo.png --output logo.svg --colormode binary

# Fewer, cleaner shapes
vtracer --input art.png --output art.svg \
  --color_precision 6 \
  --filter_speckle 8 \
--gradient_step 16| Flag | Effect |
|---|---|
--color_precision | Lower = fewer colours = smaller file |
--filter_speckle | Higher = ignores more small noise |
--mode spline | Smooth curves; polygon gives straight segments |
--corner_threshold | How sharp a turn must be to stay a corner |
If Inkscape’s colour tracing gives you a muddy result, try VTracer before concluding the source is untraceable.
5. Online Vectorizers
Plenty of sites take an upload and return an SVG. They are convenient and they have two costs.
Quality: the free tiers are usually potrace or a similar engine with fixed settings and no control. You get one guess, and if it is wrong you cannot tune it.
Privacy and rights: you are uploading artwork, often a client’s logo, to a third party. Check what their terms say about retention and about rights over uploaded content before you send anything you do not own.
If You Use One
- Upload a clean, high-contrast source, not a screenshot of a screenshot
- Download the SVG and open it in a text editor before trusting it
- Run it through SVGO afterwards, because most online output is bloated
Our own browser tools run locally so nothing is uploaded, though vectorisation is best handled by Inkscape or VTracer.
6. AI Vectorizers
Newer services use machine learning to infer shapes rather than trace boundaries. On a low-resolution or noisy logo they can genuinely beat classical tracing, because they reconstruct what the shape probably was rather than following every JPEG artifact.
Where They Help
- A logo you only have as a small, compressed JPEG
- Artwork with soft antialiased edges that confuse a threshold
- Sources where classical tracing produces ragged, wobbly outlines
Where to Be Careful
An AI vectorizer invents. It will regularise a curve that was not quite regular and straighten a line that was deliberately hand-drawn. For a brand asset, compare the result against the original at high zoom before you sign it off, and check the letterforms in particular. A subtly wrong logo is worse than an obviously wrong one, because it ships.
For image work that genuinely benefits from AI, background removal and cleanup are more reliable than vectorisation. Sirv AI Studio handles those in batch, and the Sirv Studio API exposes them programmatically.
7. Redraw It Manually
The answer nobody wants and professionals reach for anyway.
For a logo that will represent a brand for years, tracing gives you approximately-right curves with too many nodes. Redrawing gives you exact geometry with the minimum nodes, correct optical alignment, and real type.
It Is Faster Than It Sounds
Most logos are a handful of primitives:
| Element | Redraw with |
|---|---|
| Circles, rings | Ellipse tool, exact values |
| Rounded rectangles | Rectangle with a corner radius |
| Text | The actual font, converted to outlines |
| Custom mark | Pen tool over the raster as a template |
Place the raster on a locked background layer at 30% opacity, draw over it, then delete the layer. A simple wordmark takes fifteen minutes and the result is genuinely correct.
Identify the Typeface First
If the logo uses a commercial font, licensing it and setting the text properly beats tracing the letterforms. Traced type never quite matches, and it breaks at large sizes where the difference shows.
8. Go Back to the Source
Before tracing anything, spend ten minutes trying to avoid it entirely.
| Where to look | Why it works |
|---|---|
| The designer or agency who made it | They have the .ai, .eps, or .svg |
| The company’s press or brand page | Most publish an official asset pack |
| An email thread or shared drive from the original project | The vector is often there |
| The website’s own assets | Many sites already serve an SVG logo |
| A font, if it is a wordmark | Set the type instead of tracing it |
Checking the live site takes seconds:
# Is the logo already an SVG on their site?
curl -s https://example.com | grep -oE '[^"]+\.svg' | sort -u
An original vector beats the best trace every time. This is the highest-value method on the list and it costs nothing.
Preparing a Raster Before Tracing
If you must trace, the source quality decides the result. Five minutes of preparation is worth an hour of node editing.
# 1. Upscale a small source so edges have more information to follow
magick logo.png -filter Lanczos -resize 400% big.png

# 2. Remove JPEG artifacts around edges
magick big.png -despeckle -morphology Close Diamond clean.png

# 3. Force to pure black and white with a clean threshold
magick clean.png -colorspace Gray -normalize -threshold 55% bw.png

# 4. Flatten transparency onto white so alpha does not confuse the tracer
magick logo.png -background white -alpha remove -alpha off flat.png
Order matters: upscale first, denoise second, threshold last. Thresholding early destroys the information the other steps need.
Cleaning the SVG Afterwards
Every tracer produces a bloated file. Always finish with SVGO.
npx svgo --multipass --disable=removeViewBox logo.svg -o logo.min.svgDisable removeViewBox. SVGO strips it by default, which breaks fluid scaling.
Check the Result Is Actually Small
ls -lh logo.svg logo.min.svg logo.pngIf the SVG is larger than the PNG, tracing was the wrong decision. That is the reliable signal.
What Good Looks Like
| Asset | Reasonable SVG size | Warning sign |
|---|---|---|
| Simple wordmark | 2–8 KB | Over 50 KB |
| Icon | 1–4 KB | Over 20 KB |
| Multi-colour logo | 5–20 KB | Over 100 KB |
| Detailed illustration | 20–80 KB | Over 300 KB |
| Traced photograph | — | Any size. Do not do this. |
Open the SVG in a text editor. If you see a <path> with thousands of coordinate pairs, simplify further or reconsider.
When Not to Vectorise
Four cases where the answer is no.
Photographs. A traced photograph is enormous, slow to render, and worse looking than the JPEG. Serve a properly sized raster instead. This is myth number eight in the optimization myths listicle: SVG is not always smaller.
Screenshots. Text becomes outlines, which means it is no longer selectable, searchable, translatable, or readable by a screen reader. Keep screenshots as PNG or lossless WebP.
Anything with a real gradient or soft shadow. Tracers convert smooth gradients into visible bands. Modern SVG supports gradients natively, but a tracer will not produce them; it produces stacked flat shapes. Redraw and apply a real linearGradient instead.
When a raster is already good enough. An icon displayed at 24 pixels does not need to be a vector. A 2× PNG is 1 KB and renders faster.
Summary
The Eight Methods
| # | Method | Cost | Colour? | Batch? | Best for |
|---|---|---|---|---|---|
| 1 | Inkscape Trace Bitmap | Free | Yes | No | The default choice |
| 2 | Illustrator Image Trace | Subscription | Yes | No | Most control, agency standard |
| 3 | potrace | Free | No | Yes | Scripted black-and-white |
| 4 | VTracer | Free | Yes | Yes | Scripted colour tracing |
| 5 | Online vectorizers | Free | Yes | No | Quick, non-sensitive jobs |
| 6 | AI vectorizers | Paid | Yes | Some | Poor-quality sources |
| 7 | Manual redraw | Time | Yes | No | Brand assets that must be exact |
| 8 | Find the original | Free | Yes | — | Always try this first |
Checklist
- ✅ You checked for an existing vector before tracing anything
- ✅ The source was upscaled, denoised, and thresholded before tracing
- ✅ Speckle filtering is on, so dust does not become paths
- ✅ The traced path was simplified and the node count checked
- ✅ The file was saved as Plain SVG, not editor-native SVG
- ✅ SVGO ran with
removeViewBoxdisabled - ✅ The SVG is smaller than the PNG it replaces
- ✅ No photographs or screenshots were traced
Try method 8 first, method 1 second. Between finding the original and Inkscape, most vector requests are answered without spending anything.
Sources
Related Resources
Related Guides
SVG Best Practices for Web Performance
12 Image File Types Explained: When to Use Each
PNG Optimization: Transparency Done Right
Retina/HiDPI Images: Complete Implementation Guide
12 Free Image Tools Every Web Developer Should Bookmark
11 Image Optimization Myths That Refuse to Die