PNG Converter
Upload PNG (.png) files and download JPG, PNG, WebP, AVIF, or GIF. Files are processed by Sirv.
Drop one image file here
or click to choose · up to 50 MB
Files are uploaded to Sirv for processing. Do not upload confidential or sensitive images.
Convert PNG To
Convert To PNG
About PNG
Lossless format with transparency support
Advantages
- ✓ Lossless quality
- ✓ Transparency support
- ✓ Universal support
Limitations
- ✗ Large file sizes
- ✗ Not ideal for photos
Best Use Cases for PNG
Logos
Icons
Screenshots
Graphics with text
Learn More About PNG
Read our comprehensive guide covering PNG features, optimization tips, and best practices.
Read the PNG guide →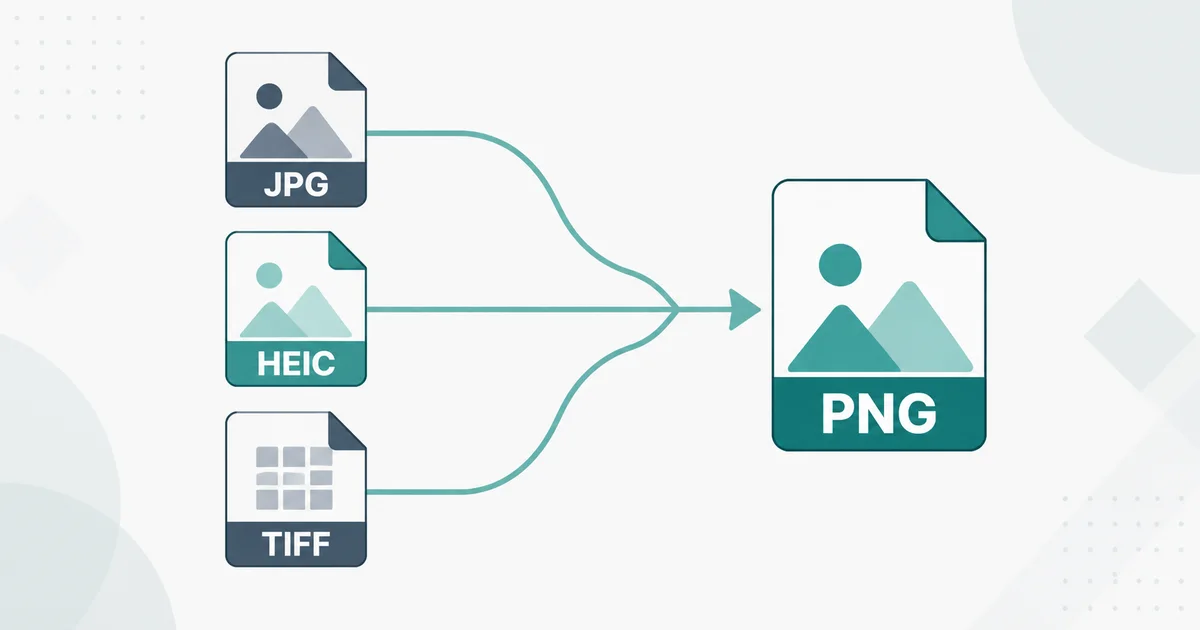
PNG Converter: 9 Ways to Convert Any Image to PNG
Convert files to PNG with built-in tools, ImageMagick, ffmpeg, sharp or Pillow: when PNG is right, when a photo balloons, and how to keep it small.
Convert a supported raster image to PNG with ImageGuide's hosted converter, or use Paint, Preview, or ImageMagick mogrify for local and batch work. PNG is lossless with transparency support — ideal for screenshots, logos, and graphics, but oversized for photographs.
A PNG converter turns any image into a PNG file. People search for this for two very different jobs. Some need PNG because only PNG will do: screenshots, logos, diagrams, anything with transparency. Others just want to open a strange format, such as HEIC from an iPhone, in a program that refuses it.
The first job is a real conversion. The second is often a mistake, because PNG stores every pixel losslessly, and a photograph saved as PNG grows three to eight times larger than its JPG original with zero quality gain. This guide covers nine ways to convert files to PNG, and — more usefully — how to know when you should not.
When PNG Is the Right Target
PNG keeps every pixel exactly as it was. It also supports an alpha channel, so pixels can be partly or fully transparent. Those two properties decide everything.
| Your source | Convert to PNG? | Why |
|---|---|---|
| Screenshot | Yes | Text edges stay sharp; flat colour compresses well |
| Logo, icon, chart | Yes | Hard edges must not blur; transparency often needed |
| Scanned document | Yes | JPG artifacts around letters hurt OCR accuracy |
| Photo with transparency | Yes | JPG cannot store an alpha channel at all |
| Ordinary photo | No | JPG or WebP is 3–8× smaller at equal visual quality |
| Photo for a website | No | WebP or AVIF beats both PNG and JPG |
| Image for editing later | Yes | Lossless intermediate survives repeated saves |
Notice the pattern. PNG wins whenever the image contains text, hard edges, flat colour areas, or transparency. It loses whenever the image is a continuous-tone photograph destined for a screen.
If your actual goal is a smaller photo rather than a PNG file, read the guide on converting any image to JPG instead. Converting a photo to PNG makes it bigger, not better.
Pick Your Method First
| # | Method | Platform | Batch? | Best for |
|---|---|---|---|---|
| 1 | Paint | Windows | No | One file, no installs |
| 2 | Preview | macOS | No | One file, no installs |
| 3 | Photos app | Windows, macOS | No | Phone imports, HEIC sources |
| 4 | GIMP | Any | No | Files that also need edits |
| 5 | ImageMagick (mogrify) | Any | Yes | Folders of files, scripts |
| 6 | ffmpeg | Any | Yes | Already installed for video work |
| 7 | sharp (Node.js) | Any | Yes | Build steps and web pipelines |
| 8 | Pillow (Python) | Any | Yes | Python scripts and data jobs |
| 9 | Online converter | Browser | Sometimes | A locked-down machine |
For a single file, use what your operating system already ships. For more than a handful of files, learn one command-line method. Everything after the comparison table shows each method in detail.
Convert to PNG on Windows with Paint
Paint has been able to save PNG since Windows Vista, which makes it the fastest answer on a Windows machine.
- Open the file in Paint.
- Choose File → Save As → PNG picture.
- Keep the same folder, then confirm the save.
That is the whole procedure. Two details matter:
- Paint flattens transparency onto a white background when the source has no alpha channel, and preserves the alpha channel when it does. Check the result if the source came from an unusual format.
- Paint writes a default compression level. The output is valid PNG but rarely the smallest possible PNG. Run it through an optimizer afterwards if size matters (see the optimization section below).
For many files at once, skip Paint entirely and use ImageMagick.
Convert to PNG on macOS with Preview
Preview converts to PNG without opening any other app:
- Open the file in Preview.
- Choose File → Export.
- Set the Format menu to PNG.
- Click Save.
Preview preserves alpha channels from sources that have them. It also lets you strip metadata during export, which matters for privacy — phone photos carry GPS coordinates by default.
macOS also converts from the Finder in some cases: select the file, choose File → Open With → Preview, then export as above. There is no built-in batch converter, so again, command-line tools win once you pass about five files.
Use the Photos App for HEIC Sources
iPhone photos arrive as HEIC on modern iOS. Many Windows programs and older web forms reject HEIC outright, so people convert HEIC to PNG to make the file acceptable. Both platform Photos apps do this directly:
- Windows Photos: open the HEIC file, click the edit/share menu, choose Save as, then pick PNG.
- macOS Photos: select the photo, choose File → Export → Export Unmodified Original, or drag the photo out and convert with Preview.
One warning before you commit: an iPhone photo is a photograph. Converting it to PNG typically grows the file from roughly 2 MB of HEIC to 8 MB or more of PNG, with no visible improvement. If the goal is compatibility, consider JPG instead — every program that rejects HEIC accepts JPG, and the size stays sane. Reserve PNG for screenshots and graphics captured on the phone, not camera photos.
Convert File to PNG with GIMP
GIMP earns its install when the file needs edits anyway — cropping, resizing, colour fixes — before the conversion:
- Open the file in GIMP.
- Choose File → Export As.
- Type a name ending in
.png. - Click Export, then set the compression slider in the PNG options dialog.
GIMP exposes the zlib compression level (0–9). Higher values shrink the file further at no quality cost — PNG is lossless, so compression level changes size and encoding time only. Level 9 is a safe default for final exports.
GIMP also handles exotic sources well: RAW files via plugins, multi-frame formats, and indexed images. For plain conversions of ordinary files, it is heavier than needed.
Batch-Convert with ImageMagick
ImageMagick is the reference command-line converter. Install it once (brew install imagemagick on macOS, winget install ImageMagick on Windows, or your Linux package manager), then convert single files like this:
# One file
magick input.jpg output.png

# Keep transparency from the source
magick input.webp -define webp:lossless=true output.png
Batch conversion with mogrify
mogrify converts whole folders in place. Always test on a copy first, because mogrify overwrites:
# Convert every JPG in the folder to PNG (overwrites originals!)
mogrify -format png *.jpg

# Write results elsewhere instead, using a loop
mkdir ../png-out
for f in *.jpg; do magick "$f" "../png-out/${f%.jpg}.png"; done
The loop form is safer and works on any POSIX shell. On Windows PowerShell the equivalent is:
Get-ChildItem *.jpg | ForEach-Object {
  magick $_.FullName ("C:\png-out\" + $_.BaseName + ".png")
}
The flatten-transparency decision
This is the decision people get wrong most often. When the source has transparency and you convert to PNG, you usually want to keep it — PNG stores alpha natively, so magick in.gif out.png preserves transparency automatically.
But sometimes the destination requires opaque pixels: an old CMS, a print pipeline, or a form that rejects PNGs with alpha. Then flatten deliberately onto a known background:
# Flatten onto white instead of letting black appear
magick input.png -background white -alpha remove -alpha off output.jpg
Never rely on defaults here. Tools that flatten implicitly often choose black, which is why so many converted logos end up on black boxes. Decide the background yourself, every time.
Compression level for batch runs
# Maximum zlib effort (smaller files, slower)
magick input.tiff -compress zip -define png:compression-level=9 output.png
The level affects encoding time and size, never fidelity. For large batches where size still matters after conversion, chain ImageMagick with a dedicated optimizer — next section.
Convert with ffmpeg
ffmpeg converts images too, and video people already have it installed:
# Single image
ffmpeg -i input.jpg output.png

# Every frame of a video becomes a numbered PNG sequence
ffmpeg -i clip.mp4 frame_%04d.png

# One specific frame, useful for thumbnails
ffmpeg -ss 00:00:05 -i clip.mp4 -frames:v 1 thumbnail.png
ffmpeg applies sensible PNG defaults and preserves alpha for sources that carry it. Its image handling is less configurable than ImageMagick’s — no per-format define system, fewer color-management options — so treat it as the convenient tool rather than the precise one. Note that extracting video frames produces photographs, which are exactly the content PNG handles worst; a frame grab saved as JPG is usually far smaller.
Programmatic Conversion with sharp and Pillow
Build pipelines should never shell out to desktop apps. Two libraries cover the common stacks.
sharp (Node.js)
sharp wraps libvips and is the standard choice in Node build steps:
import sharp from 'sharp';

// Simple conversion
await sharp('input.jpg').png().toFile('output.png');

// Flatten onto white, cap dimensions, max compression effort
await sharp('input.jpg')
  .resize(1600, 1600, { fit: 'inside' })
  .flatten({ background: '#ffffff' })
  .png({ compressionLevel: 9 })
  .toFile('output.png');

// Preserve transparency instead of flattening
await sharp('input.webp').png().toFile('output.png');
sharp’s compressionLevel maps to the same zlib scale as everywhere else. It also offers palette: true, which reduces the image to 256 colours — a huge saving for flat graphics, wrong for photographs.
Pillow (Python)
Pillow is the Python equivalent:
from PIL import Image

# Simple conversion
img = Image.open("input.jpg")
img.save("output.png", optimize=True)

# Flatten onto white (RGBA -> RGB before PNG save)
rgba = Image.open("input.png")
background = Image.new("RGB", rgba.size, (255, 255, 255))
background.paste(rgba, mask=rgba.split()[3])
background.save("output.png")

# Explicit compression level, 0-9
img.save("output.png", compress_level=9)
Both libraries encode faster than the CLI tools and integrate into watch tasks, CI jobs, and upload handlers. If you run conversions inside a web service, put an optimizer step behind them — see below.
Shrink the Result: pngquant and oxipng
A correct PNG is not necessarily a small PNG. Two optimizers fix that after conversion:
# oxipng: lossless, squeezes out redundant bytes
oxipng -o max --strip safe output.png

# pngquant: lossy palette reduction, typically 60-80% smaller
pngquant --quality=65-80 output.png
Typical results, framed as approximations from real-world batches:
| Optimizer | Typical size cut | Quality cost |
|---|---|---|
| oxipng (max) | 5–15% | None — lossless |
| pngquant (quality 65–80) | 60–80% | Minor, usually invisible on graphics |
The rule: run oxipng on anything you must keep pixel-perfect (screenshots for documentation, medical or technical imagery). Run pngquant on UI graphics, icons, and charts, where 256 colours are plenty. Never run pngquant on gradient-heavy artwork without checking banding.
An image CDN can do this work continuously instead of once — Sirv, for example, optimizes and delivers images on the fly, and its media viewer adds zoom and 360° spin on top of the optimized originals. That model suits stores and galleries where the image set changes daily.
Special Sources: HEIC and RAW
Two source families need extra care.
HEIC (iPhone photos) converts cleanly through every method above once a HEIC decoder is present. ImageMagick includes one on most platforms; if magick input.heic output.png fails, update your build or route through the Photos app first. Remember the size trap: HEIC is a photographic format, so PNG output balloons. Prefer JPG unless the image genuinely needs alpha or lossless storage.
RAW files (CR3, NEF, ARW, DNG) are not finished images — they are sensor data awaiting development. A naive converter either fails or bakes in default settings. Convert RAW properly:
# Develop the RAW with dcraw/embrace, then encode
dcraw -w -c input.CR3 | magick - output.png
Or use darktable or RawTherapee, which let you set exposure and white balance before export. Exporting RAW straight to PNG throws away the entire point of shooting RAW. If the destination is a website, develop to JPG or WebP instead; PNG’s size penalty is worst precisely on noisy sensor data.
Pitfalls That Ruin Conversions
Photos become huge as PNG
This bears repeating with numbers. A typical 12-megapixel phone photo weighs roughly 3–5 MB as JPG. The identical image as PNG weighs 20–40 MB. Nothing improves visually; the file just carries perfect fidelity nobody can see. Screenshots invert the ratio — a screenshot saved as JPG often looks worse and weighs more than its PNG version, because JPEG artifacts smear text edges. Content type decides the format, always.
JPEG cannot hold transparency
Converting a transparent PNG to JPG fills the transparent area with a solid colour — frequently black, depending on the tool. The reverse direction cannot undo this: once flattened, the alpha channel is gone forever. Keep a master copy of any transparent asset before converting it anywhere. And note the boundary case: adding transparency to an already-opaque JPG is a different job entirely, covered in the dedicated transparent-background guide.
Colour profiles shift silently
A PNG tagged with a wide-gamut display P3 profile looks more saturated on that display than the same pixels tagged sRGB. Converters handle tags differently: some preserve the source profile, some assume sRGB, some strip tags entirely. For web delivery, normalize deliberately:
# Convert to sRGB and embed the profile
magick input.jpg -profile sRGB.icc -profile sRGB.icc output.png
Muted or oversaturated conversions almost always trace back to profile mishandling, not to the pixel data. Our guide on colour spaces and profiles covers the full picture.
Interlacing surprises
Some converters enable Adam7 interlacing by default. Interlaced PNGs preview progressively but weigh roughly 10–30% more and decode slower. Disable it unless progressive preview matters for your audience:
magick input.jpg -interlace none output.pngWhich Converter Should You Actually Use?
Decide by volume and context:
- One file, right now: Paint or Preview. They exist, they work, done.
- A folder of files: ImageMagick with
mogrify, plus oxipng in the same script. - A build pipeline: sharp or Pillow, wired into your existing task runner.
- HEIC or RAW sources: Photos app or a RAW developer first; then decide PNG versus JPG by content type.
- A site full of changing images: serve through an image CDN and stop converting manually. If you want to see that workflow end to end, create a free Sirv account and point it at your image folder.
And before any conversion, ask the question this guide opened with: does this image deserve PNG at all? Graphics, screenshots, and transparency say yes. Photographs say no — and now you know both how to convert correctly and when to walk away.
For displaying converted PNGs interactively — product galleries, zoomable detail views, 360 spins — see how the Sirv Media Viewer handles them, and for AI-assisted cleanup such as background removal before conversion, Sirv Studio does that in the browser.