Convert JPG to PNG
Convert JPG to PNG: upload a .jpg file and download it as .png. No signup, no watermarks. The quality, transparency and file size effects are explained below.
Upload a .jpg file and download it as .png. JPG is universal format for photographs, while PNG is lossless format with transparency support — below you can see exactly what changes in the conversion.
Drop one .jpg file here
or click to choose · up to 50 MB
Files are uploaded to Sirv for processing. Do not upload confidential or sensitive images.
Should You Convert JPG to PNG?
Conversion changes how your image is stored, not what it shows. Switching from JPG to PNG trades one set of strengths for another, so it helps to know which side of that trade you are on.
Good reasons to switch
- ✓ Lossless quality
- ✓ Transparency support
- ✓ Universal support
- ✓ You need the file in a program or platform that only accepts .png
Better off staying with JPG
- ✗ Universal support — conversion does not remove this trade-off
- ✗ Good compression for photos — conversion does not remove this trade-off
- ✗ Fast encoding — conversion does not remove this trade-off
- ✗ Nothing about your current workflow requires .png
What Changes When You Convert
Quality
JPG uses lossy compression, so some detail was already discarded when the file was created. Converting to PNG preserves exactly what remains — no further loss — but it cannot restore what was thrown away.
Transparency
JPG cannot store transparency, so there is nothing to preserve here — but if you later need a transparent version, convert from your original rather than from this PNG copy.
File size
Expect the PNG file to be noticeably larger. PNG stores every pixel losslessly, which is why photos balloon in size.
JPG vs PNG: Format Comparison
| Feature | JPG | PNG |
|---|---|---|
| Compression | Lossy only | Lossless only |
| Transparency | No | Yes |
| Animation | No | No |
| Typical size | the baseline most photo formats are measured against | compact for flat graphics and screenshots, large for photographs |
| Best for | Photographs, Complex images, Legacy support required | Logos, Icons, Screenshots, Graphics with text |
| Browser support | 100% | 100% |
| Extension / MIME | .jpg · image/jpeg | .png · image/png |
How the Converter Works
- Upload — drop your .jpg file into the tool above. It is uploaded to Sirv for processing; do not use confidential images.
- Convert — the file is re-encoded as .png with sensible default quality settings.
- Download — the response is checked for a successful status, the expected MIME type, and a valid image signature before download.
Frequently Asked Questions
Does converting JPG to PNG lose quality?
Will the PNG file be smaller than my JPG file?
Is this JPG to PNG converter free?
Can I convert back later without losing more quality?
Go Deeper
Compression settings, tools, and pitfalls for .jpg files.
Get the most out of .png: optimization, quality, and delivery.
Convert any supported format to JPG, or JPG to anything else.
Convert any supported format to PNG, or PNG to anything else.
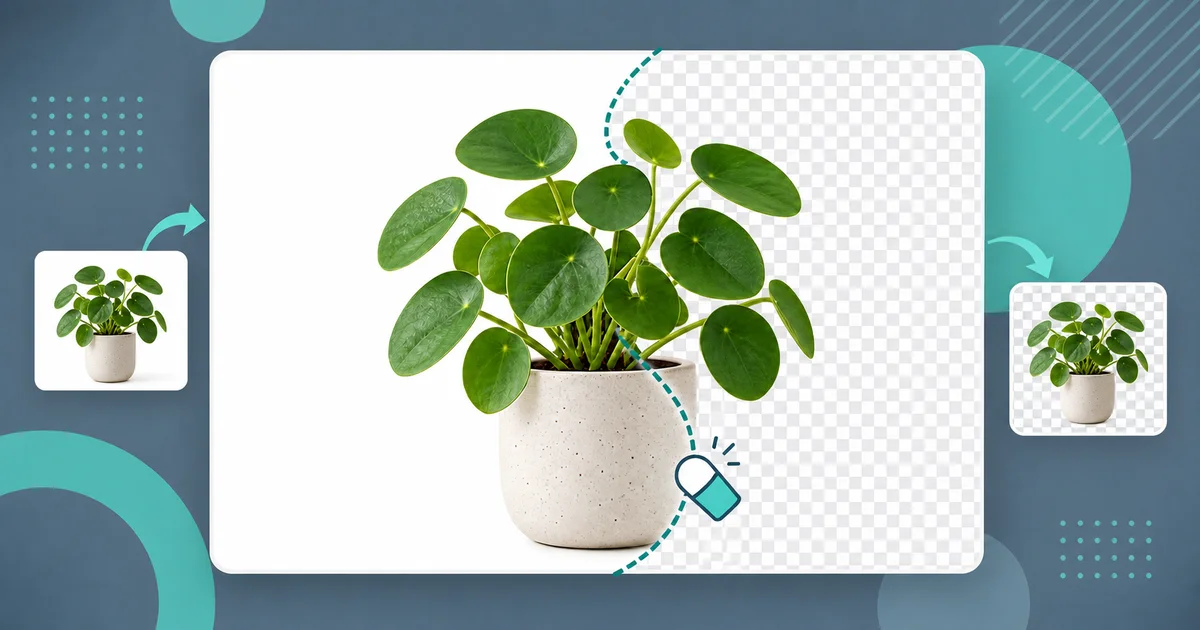
JPG to PNG With a Transparent Background: Every Method That Works
Convert JPG to PNG with a transparent background: JPEG stores no alpha, so convert first, then remove the background with AI tools or GIMP.
You searched for how to do a JPG to PNG transparent background conversion, and here is the thing most tutorials skip: JPEG cannot store transparency. Not “it is hard” or “the setting is hidden” — the JPEG format simply has no alpha channel. A JPG pixel is always fully opaque. So there is no conversion that turns an opaque JPG into a transparent PNG directly.
What you actually need is two operations:
- Convert the JPG to PNG (trivial — any tool does this).
- Remove the background from the now-PNG image so its alpha channel has real transparency.
The second step is where all the work lives, and this guide covers every practical way to do it: automatic AI removal, manual selection in GIMP or Photopea, color-range removal with ImageMagick, and programmatic approaches in Python. It also covers when each method works, when it fails badly, and how to fix the ugly edge halos that manual methods leave behind.
Why Your JPG Has a White Background Baked In
When a camera saves a JPEG, or when an export dialog flattens a design, every pixel gets a concrete color value. If the original scene had a white sweep behind the product, those pixels are literally white — RGB values around 255, 255, 255 — with no record that they mean “background.” The format has nowhere to say “this part is see-through.”
Three common situations produce these images:
- Product photos shot on a white or solid-color backdrop.
- Screenshots and exports from tools that flatten layers on save (many apps default to a white canvas).
- Logos received as JPG because someone exported the wrong format — this is probably the single most common version of this problem.
This matters for your expectations: removing the background means deciding which pixels are background and deleting them. The JPG gives you no help. Flat, uniform backgrounds make that decision easy. Gradients, shadows, and busy scenes make it hard, and that split drives every method choice below.
Pick Your Method First
| # | Method | Skill needed | Best background | Batch? | Cost |
|---|---|---|---|---|---|
| 1 | AI background removal | None | Any, including complex | Yes (paid tiers) | Free tier + paid |
| 2 | Manual selection (GIMP, Photopea) | Medium | Simple to moderate | No | Free |
| 3 | ImageMagick color-range removal | Low | Flat, uniform color | Yes | Free |
| 4 | Python (Pillow, rembg) | Coding | Depends on library | Yes | Free |
Rule of thumb: one-off image with a tricky background → method 1. One-off image with a clean flat background → method 2 or 3. Hundreds of product shots on white → method 3 or 4.
Method 1: Automatic Background Removal (AI)
AI matting tools segment the subject from the background using models trained on millions of images. You upload a JPG, the model decides what the subject is, and you download a PNG with the background gone. The conversion to PNG happens automatically because PNG (or WebP) is the only sensible output for transparency.
For product photography and e-commerce workflows, Sirv Studio includes AI-powered background removal alongside its editing tools, which keeps the whole pipeline — remove, retouch, deliver through a CDN — in one place. Dedicated services like remove.bg work on the same principle: upload, wait a few seconds, download.
Why AI wins on hard images: gradients, soft shadows, hair, glass, and cluttered scenes defeat every rule-based method. A trained model handles them because it understands what “the product” is, not just which pixels are white. Typical results keep fine edges like hair and semi-transparent areas like glass surprisingly well.
Limits to know:
- Free tiers usually cap resolution or daily volume.
- Very unusual subjects (transparent packaging, objects similar in color to the background) can still confuse the model.
- You are trusting someone else’s definition of “subject.” Occasionally it keeps something you wanted removed or vice versa; most tools let you brush corrections manually afterward.
If you need the result inside a larger gallery or zoom experience on a site, note that hosting platforms like Sirv’s media viewer handle transparent PNGs cleanly, including zoom and spin sets — useful once the cutout becomes a product page asset.
Method 2: Manual Selection in GIMP or Photopea
Manual selection gives you full control and costs nothing. It works well when the background is fairly uniform and the subject has a clear boundary.
GIMP: Fuzzy Select Workflow
The core workflow in GIMP (free, all platforms):
- Open the JPG.
- Add an alpha channel: Layer → Transparency → Add Alpha Channel. Without this step, deleting pixels fills them with white instead of making them transparent — the classic beginner trap.
- Choose the Fuzzy Select tool (magic wand, shortcut
U). Set the Threshold in tool options — start around 15–25 for clean white backgrounds. - Click the background. Marching ants show the selected region.
- Press
Delete. The background vanishes to the checkerboard. - Deselect (Select → None), then export as PNG (File → Export As, filename ending in
.png).
Fuzzy Select vs Select By Color: Fuzzy Select grabs contiguous pixels — everything connected to where you clicked. Select By Color grabs every pixel in the image within the threshold, even in disconnected regions. Use Fuzzy Select when the subject contains colors similar to the background (Select By Color would punch holes in the subject). Use Select By Color when background patches appear in multiple separated areas, like gaps between a chair’s legs.
Threshold tuning: too low leaves a white fringe around the subject; too high eats into the subject. Adjust in small steps and re-click.
Photopea: Same Ideas, In the Browser
Photopea (photopea.com) is a free browser editor with Photoshop-compatible shortcuts. The workflow maps directly:
- Open the JPG.
- Layer → New → Layer From Background — this adds the alpha channel equivalent.
- Use the Magic Wand (
W), set Tolerance in the toolbar (start near 20), click the background. - Press
Delete, then File → Export As → PNG.
Photopea also offers Select Subject (an AI one-click selection under Select → Select Subject), which bridges manual and automatic methods: let the AI propose the selection, then refine edges by hand with Quick Mask before deleting.
When Manual Beats AI
- The subject boundary must be exact (logo edges, print work).
- The AI keeps or removes the wrong region and you would spend longer correcting it than selecting yourself.
- You cannot or will not upload the image to a cloud service.
Method 3: Chroma-Key Style Removal With ImageMagick
If the background is one flat, uniform color, you can script the whole job. ImageMagick’s -transparent option converts every pixel matching a color into transparent pixels, and -fuzz widens the match tolerance:
magick input.jpg -fuzz 8% -transparent white output.pngThat single command does both operations at once — it writes a PNG (because the extension says .png) and knocks out the white background within an 8% tolerance of pure white.
Tuning the fuzz percentage:
- Start at 5–10% for studio-white backgrounds. JPEG compression noise means “white” pixels rarely sit at exactly
255,255,255; without fuzz you get speckled leftovers. - Raise toward 15–20% if edges stay ragged.
- Past roughly 25% you risk eating light parts of the subject — pale products on white backdrops are the classic casualty.
Finding the actual background color instead of guessing “white”:
magick input.jpg -format "%[pixel:p{5,5}]" info:This prints the pixel color at coordinates (5,5) — usually a corner safely inside the background. Feed that value to -transparent.
Handling shadows and slightly uneven backdrops — combine with floodfill-from-the-corners semantics instead of global replacement. A common refinement chains a border trim first:
magick input.jpg -fuzz 12% -trim +repage -fuzz 12% -transparent "#f2f2f2" output.pngBatch processing is where this method earns its keep:
for f in *.jpg; do magick "$f" -fuzz 8% -transparent white "${f%.jpg}.png"; doneHundreds of catalog images on identical white sweeps process in minutes with zero per-image judgment.
The failure mode: any subject pixel within the fuzz distance of the background color disappears globally. A white t-shirt on a white backdrop loses its shirt. Global color replacement cannot tell “background white” from “product white” — only contiguity-aware methods (flood fill, manual selection, AI) can.
Method 4: Programmatic Approaches in Python
Pillow: Flood Fill From the Edges
Pillow ships with PIL.ImageDraw.floodfill, which replaces connected pixels starting from a seed point — the contiguity-aware version of the ImageMagick trick:
from PIL import Image, ImageDraw

img = Image.open("input.jpg").convert("RGBA")
ImageDraw.floodfill(img, (2, 2), (0, 0, 0, 0), thresh=30)
img.save("output.png")
Converting to RGBA creates the alpha channel; filling from a corner with alpha 0 makes the connected background transparent while leaving same-colored pixels inside the subject alone. thresh plays the role of fuzz.
A more robust pattern samples several corner seeds and floods from each, catching backgrounds that touch the frame on multiple sides.
rembg: Open-Source AI Matting
The rembg library bundles open-source segmentation models (U²-Net family) for local, free, batch-capable AI removal:
from rembg import remove

with open("input.jpg", "rb") as f:
    result = remove(f.read())
with open("output.png", "wb") as out:
    out.write(result)
Output is a PNG with the background removed — no separate conversion step needed. Quality sits below the best commercial services on hair and complex edges, but it runs offline, costs nothing per image, and scales to thousands of files.
sharp (Node.js): Know the Limitation
sharp — the libvips binding behind most Node image pipelines — converts formats and resizes beautifully, but libvips has no built-in background-removal operation. sharp can write PNGs with alpha channels and can even apply a raw alpha mask you compute yourself, but it will not decide which pixels are background. The usual Node architecture is sharp for the encode step plus rembg (via a Python sidecar or HTTP service) for the matting step. Do not burn an afternoon hunting for a sharp.removeBackground() call; it does not exist.
When Background Removal Works — and When It Fails
| Background type | Color-range methods | Manual selection | AI matting |
|---|---|---|---|
| Flat uniform color | Excellent | Excellent | Excellent |
| Slight gradient / vignette | Workable with high fuzz | Good | Excellent |
| Drop shadows on backdrop | Poor — shadows survive | Tedious but possible | Good |
| Busy / textured scene | Fails completely | Possible, slow | Good |
| Hair, fur, fabric edges | Fringed results | Skilled hand-work | Best option |
| Glass / transparent objects | Fails | Very hard | Surprisingly good |
Two patterns matter most in practice:
Flat backgrounds are the entire kingdom of rule-based methods. If your JPG came off a lightbox or a seamless paper sweep, ImageMagick with tuned fuzz or a flood fill solves it deterministically, free, in bulk.
Everything else belongs to AI matting. Shadows are the most common trip-wire: a color-range method removes the white floor but leaves a gray shadow blob floating around your product’s feet. Models handle shadows because they have learned shadows are not part of the subject. For genuinely complex scenes, expect to pay for a commercial-grade service rather than fighting open-source models.
Fixing Edge Halos and Fringes
After removal, subjects cut from JPGs often show a thin light outline. This happens because JPEG compression blurs the boundary between subject and background, creating a band of blended pixels. The color-range method removes pixels close to white but keeps the blend band, which reads as a halo.
Fixes, cheapest first:
- Increase fuzz slightly (ImageMagick) or threshold (GIMP) until the fringe goes — stop before the subject erodes.
- Defringe: GIMP’s Layer → Transparency → Remove white matte… or Photopea’s defringe filters recolor remaining edge pixels toward the subject color.
- Feather or shrink the selection before deleting: in GIMP, Select → Feather by 1–2 px, or use Select → Shrink by 1 px first. This trades a hard edge for a soft one that composites cleanly on any background.
- Erode the alpha channel programmatically: a 1-pixel minimum filter on the alpha channel shaves the contaminated boundary ring. In ImageMagick:
magick output.png -channel A -morphology Erode Diamond:1 +channel output2.png. - Let AI handle it: modern matting produces soft alpha values along edges precisely to avoid halos — another reason method 1 dominates on hard images.
Check Your Result Before Shipping
Every decent editor shows transparency as a gray checkerboard. But beware: some viewers composite transparent PNGs onto white, hiding leftover background remnants. Verify properly:
- GIMP / Photopea: the checkerboard shows through deleted areas by default. Zoom to 100–400% around the subject edge and hunt for fringes.
- On colored backgrounds: drop the PNG onto a dark or saturated page temporarily. White fringes invisible on a white preview scream loudly on navy.
- Command line check: confirm the alpha channel actually varies:
magick output.png -format "%[opaque]" info:It should print false. If it prints true, your “transparent” PNG has no real transparency — usually meaning the delete happened before the alpha channel existed.
Output Optimization: Transparent PNG Is Heavy
PNG-24 with a full alpha channel stores every pixel as RGBA plus lossless compression. A typical 1500×1500 product cutout lands around 500 KB–1 MB — often five to ten times heavier than the source JPG. On a product grid with dozens of cutouts, that weight compounds fast.
Your options, in order of preference:
-
WebP with alpha. Lossy WebP supports transparency and typically cuts a transparent PNG to a quarter of its size at visually equivalent quality. All current browsers support it:
magick output.png -quality 80 output.webp -
AVIF with alpha — smaller still, slightly slower to encode, broadly supported in current browsers.
-
Keep PNG, compress it harder. Tools like oxipng with
--alphaoptimization squeeze maybe 10–30% out. Fine for logos and icons; not enough for hero-size cutouts. -
Resize honestly. A cutout displayed at 400 px does not need to be 1500 px. Combined with WebP, this is usually the whole optimization story.
Keep the master PNG as your archive copy and serve WebP/AVIF derivatives to the browser. Our guides on PNG transparency done right and converting images to WebP cover the encoding details.
The Complete Recipe, Condensed
For the impatient, here is the decision tree:
- One image, messy background → AI removal (Sirv Studio or similar), download PNG, done. Sign-up takes a minute if you want higher resolutions or batch processing via my.sirv.com.
- One image, flat background → GIMP fuzzy select or Photopea magic wand; remember Add Alpha Channel before Delete.
- Many images, flat background →
magick input.jpg -fuzz 8% -transparent white output.pngin a loop. - Pipeline integration → rembg in Python for local AI matting; sharp for encoding only.
- Always → check edges on a dark background, defringe if needed, and serve WebP-with-alpha rather than heavyweight PNG-24.
The mental model to keep: “JPG to PNG transparent” was never one operation. Convert freely — that part is free. Spend your effort on the background removal, choosing the method that matches your background’s complexity.