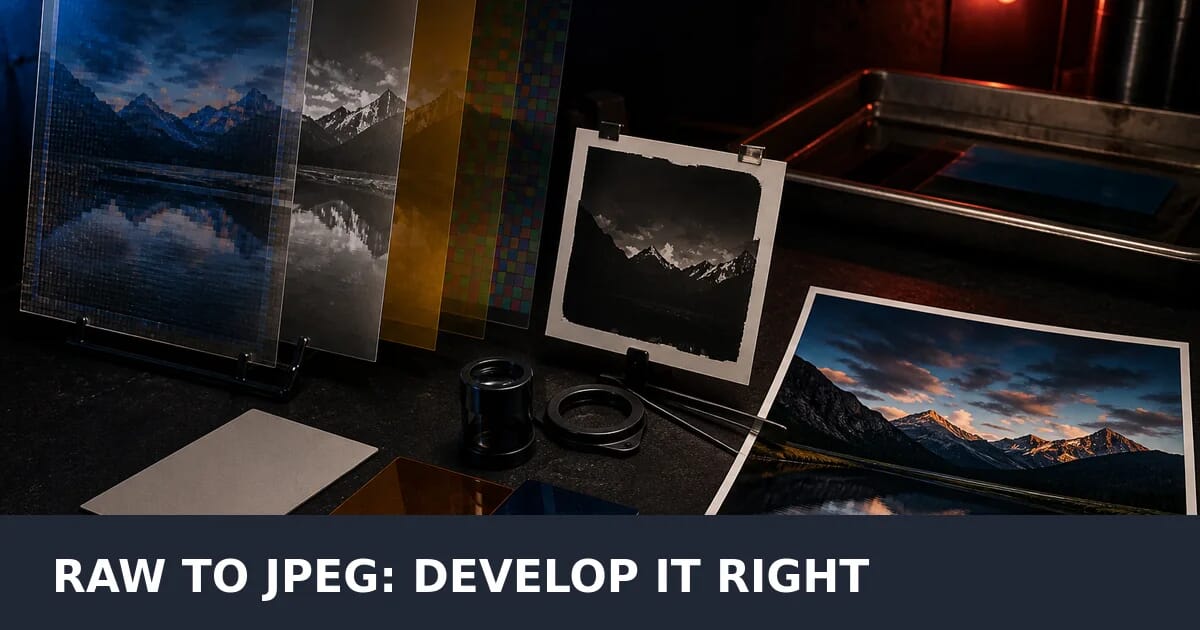
9 Things to Get Right When Converting RAW to JPEG
CR2, NEF, ARW and DNG to JPEG: free tools, batch commands, the embedded preview trick, and the settings that exist only while the file is RAW.
A RAW file is not an image. It is a record of what each photosite on the sensor measured, plus the metadata needed to interpret it. Turning it into a JPEG is not a format change — it is developing, and a dozen decisions get baked in permanently along the way.
Do it carelessly and you throw away the latitude you shot RAW for. Do it deliberately and you keep every advantage. These are the nine things that matter, and the tools that handle each.
First: “RAW” Is Not a Format
There is no .raw file type. Every manufacturer has its own, and they are genuinely different internally.
| Extension | Manufacturer |
|---|---|
.cr2, .cr3 | Canon |
.nef, .nrw | Nikon |
.arw, .sr2 | Sony |
.raf | Fujifilm |
.orf | Olympus and OM System |
.rw2 | Panasonic |
.pef | Pentax |
.dng | Adobe’s open standard, plus some phones and drones |
This is why a brand-new camera body is unreadable in software that worked yesterday: support is added per model, and the file layout changed. If your converter does not recognise a file, the fix is usually a software update or a pass through the free Adobe DNG Converter, which translates most proprietary formats into DNG.
1. Decide Whether You Need to Develop at All
Before installing anything, know that every RAW file contains a full-size JPEG preview — the one your camera shows on its screen, rendered with the picture style you had set.
# Install exiftool
sudo apt install libimage-exiftool-perl
brew install exiftool

# Extract the embedded full-size JPEG
exiftool -b -JpgFromRaw photo.cr2 > photo.jpg

# Some formats use a different tag
exiftool -b -PreviewImage photo.nef > photo.jpg

# A whole folder, in one command
exiftool -b -JpgFromRaw -w .jpg -ext cr2 .
This is instant — no demosaicing, no processing. A thousand files take seconds instead of an hour.
Use it when: you need contact sheets, a quick client preview, a backup set, or you are culling and want to browse quickly.
Do not use it when: the images need adjustment, because you are getting the camera’s interpretation with no latitude. Also note the preview reflects the in-camera picture style, so a flat profile gives a flat JPEG.
Check what is embedded before assuming:
exiftool -PreviewImageSize -JpgFromRawLength photo.cr22. Set White Balance While It Is Still Free
White balance in a RAW file is metadata, not pixels. Changing it costs nothing and loses nothing — the demosaic simply uses different multipliers.
After conversion to JPEG, correcting a colour cast means stretching 8-bit channels that have already been clipped and quantised, which produces banding and colour noise.
So: fix white balance before you export, always. It is the single most valuable thing RAW gives you, and the one most easily wasted. If you are batch-converting a shoot taken under one light source, set it once and apply to all.
3. Recover Highlights Before They Clip
A modern sensor records 12 or 14 bits per channel — 4,096 or 16,384 levels. JPEG stores 8 bits, or 256 levels.
That compression of range is where blown skies come from. A highlight sitting at 98% in the RAW data has recoverable detail; the same area, once mapped into an 8-bit JPEG at 255, is pure white and gone.
Pull the highlights down before export, not after. The same applies at the other end: shadow detail that lifts cleanly from 14-bit data turns into blotchy noise when lifted from a JPEG.
This is the practical reason to develop rather than extract the embedded preview — the preview has already made these decisions for you.
4. Choose the Colour Space Deliberately
| Destination | Colour space |
|---|---|
| Web, social media, email | sRGB |
| Print, sent to a lab | Adobe RGB, or as the lab specifies |
| Further editing | ProPhoto RGB or Adobe RGB, 16-bit TIFF |
Exporting Adobe RGB JPEGs for the web is the classic error. Browsers handle embedded profiles correctly, but plenty of social platforms strip them, and the image then gets interpreted as sRGB. Saturated colours go flat and muddy — the “why do my photos look washed out on Instagram” problem.
Always embed the profile, even for sRGB. A JPEG with no profile is guessed at, and different software guesses differently. Our colour spaces guide covers the details.
5. Sharpen After Resizing, Not Before
Order matters and it is counter-intuitive.
RAW files need capture sharpening because demosaicing is inherently soft. But if you sharpen at full resolution and then downsize for the web, the resampling smears the sharpening halos into visible artifacts.
The correct order:
- Develop and adjust at full resolution
- Resize to the final dimensions
- Sharpen for the output size and medium
- Export
Web images need less sharpening than print, and a 1600-pixel export needs different settings from a 3000-pixel one. Most RAW processors have an “output sharpening” step separate from capture sharpening, which exists precisely for this.
6. Pick the Right Tool
darktable — free, and the best batch story
Open source, cross-platform, non-destructive, and it has a genuine command-line interface.
# One file with default processing
darktable-cli photo.cr2 photo.jpg

# Apply a saved XMP sidecar to every file
darktable-cli photo.cr2 preset.xmp photo.jpg

# A folder, with size and quality control
for f in *.cr2; do
  darktable-cli "$f" "${f%.cr2}.jpg" \
    --width 2048 --height 2048 \
    --core --conf plugins/imageio/format/jpeg/quality=90
done
darktable-cli is the free answer for automated conversion. Develop one representative image in the GUI, copy its settings to the rest of the shoot, then export the batch.
RawTherapee — free, and the strongest demosaicing
Also open source. Its demosaicing algorithms (AMaZE, RCD, DCB) are widely regarded as best in class, and it exposes more low-level control than anything else free.
# Batch with a saved profile
rawtherapee-cli -o output/ -p my-profile.pp3 -j90 -c *.cr2
-j90 sets JPEG quality; -c takes the input files. Steeper to learn than darktable, better results on difficult files.
Adobe Lightroom and Camera Raw
The industry default. Best-in-class lens correction profiles, excellent noise reduction, and by far the smoothest batch workflow: develop one image, select all, Sync Settings, then Export with a preset that handles resize, sharpening, colour space and metadata in one step.
Capture One
Preferred by many studio and portrait photographers for its colour rendering and tethering. Expensive, and worth it only if the colour handling matters to you specifically.
macOS Preview and Photos
macOS decodes most RAW formats natively. Open in Preview, then File → Export → JPEG. Fine for one file; there is no meaningful development control.
dcraw and LibRaw
The low-level route, useful in pipelines:
# Camera white balance, 8-bit, straight to JPEG via a pipe
dcraw -c -w -q 3 photo.cr2 | magick - -quality 92 photo.jpg

# Extract without any processing, for archival
dcraw -c -D -4 photo.cr2 > raw.pgm
-w uses the camera’s white balance, -q 3 selects the highest-quality interpolation. No adjustment controls, but it scripts cleanly.
Adobe DNG Converter
Free from Adobe, and the fix when your software does not recognise a new camera’s files. It converts proprietary RAW to DNG, which almost everything reads. It also shrinks files somewhat, and can embed a fast-load preview.
7. Choose the Export Quality Honestly
| Quality | Use for |
|---|---|
| 100 | Almost never — large files, no visible gain |
| 92–95 | Client delivery, print, archival JPEG |
| 85 | Portfolio and web display |
| 75–80 | Thumbnails, contact sheets |
The difference between 85 and 100 on a well-developed photograph is typically 2–3× the file size for something invisible at normal viewing distance. Our JPEG optimization guide covers chroma subsampling, which matters more than the headline number on images with saturated reds.
8. Handle Metadata Deliberately
RAW files carry a great deal: GPS coordinates, camera serial number, lens, every exposure setting, and any copyright and contact fields you configured.
Decide what travels with the JPEG:
# Strip everything
exiftool -all= photo.jpg

# Strip location but keep camera and copyright data
exiftool -gps:all= photo.jpg

# Add copyright and contact across a folder
exiftool -Copyright="© 2026 Your Name" -Artist="Your Name" -overwrite_original *.jpg
Remove GPS from anything published — a photograph of your home studio publishes your address. Keep copyright and contact on work you are distributing, since it is the only claim that travels with the file. Our metadata and privacy guide covers what each field exposes.
9. Never Delete the RAW
Obvious, and still worth stating because it is a decision people make when a drive fills up.
The JPEG is a rendering, made with the tools and taste you had at export time. Keep the RAW and you can:
- Redevelop with better software later — demosaicing and noise reduction improve every few years
- Re-export at a different size, colour space or format
- Recover highlights or shadows you did not notice
- Change white balance for free
- Produce an HDR version when the format landscape settles — see our HDR images guide
Store RAW files in your archive and treat every JPEG as disposable. If storage is the constraint, converting to DNG with lossless compression typically saves 15–20% with no quality cost.
For the Web, JPEG Is Not the End Point
If your photographs are going on a website, the RAW-to-JPEG step is only the first half.
Export a high-quality JPEG or 16-bit TIFF as your master, then generate the web derivatives from it in WebP or AVIF, which are 25–50% smaller at the same visual quality. See converting images to WebP for the bulk workflow, and photography portfolio optimization for the full delivery picture.
Summary
The Nine Things
| # | Point | Why |
|---|---|---|
| 1 | Try the embedded preview first | Instant, and often enough |
| 2 | Set white balance while it is free | It costs nothing before export |
| 3 | Recover highlights before 8-bit | 16,384 levels become 256 |
| 4 | Choose the colour space deliberately | Adobe RGB on the web goes flat |
| 5 | Sharpen after resizing | Sharpening then resizing smears halos |
| 6 | Pick the tool for the job | darktable-cli for free batches |
| 7 | Export at 85–92, not 100 | 100 is bytes without benefit |
| 8 | Handle metadata deliberately | Strip GPS, keep copyright |
| 9 | Never delete the RAW | It is the only thing you cannot regenerate |
Checklist
- ✅ You checked whether the embedded preview would do
- ✅ White balance was set before export
- ✅ Highlights were pulled back from clipping
- ✅ The export is sRGB with an embedded profile, for the web
- ✅ Sharpening happened after the resize
- ✅ Quality is 85–92, not 100
- ✅ GPS is stripped, copyright is present
- ✅ The RAW files are archived, not deleted
For a quick set of previews, exiftool -b -JpgFromRaw -w .jpg -ext cr2 . finishes in seconds. For a real conversion, develop one image, sync the settings, and let darktable-cli or your processor’s export preset handle the rest.
Sources
Related Resources
Related Guides
Photography Portfolio Optimization Guide
10 Image Export Settings You're Probably Getting Wrong
Color Spaces, Profiles, and the Web
HDR Images on the Web: Complete Implementation Guide
Batch Image Processing Workflows: Scale Your Optimization
JPEG to JPG: There Is Nothing to Convert (and 7 Other Name Traps)