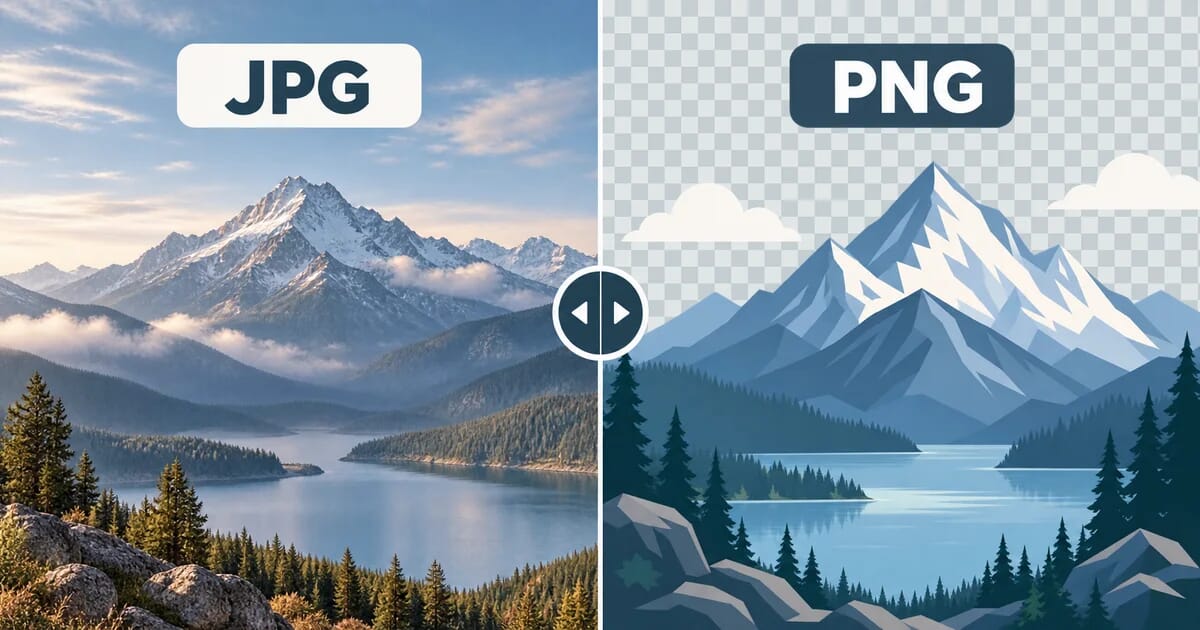
JPG vs PNG: Which Format Should You Use (and When Both Lose)
JPG against PNG on compression, transparency, colour depth, size and support, with real numbers for photos and screenshots.
Disclosure: ImageGuide is published by Sirv, an image CDN company. This guide mentions Sirv products. Read how we write these guides.
Quick answer
Use JPG for compact photographic images when lossy compression is acceptable. Use PNG when you need exact raster pixels or transparency, particularly for screenshots and graphics. Compare WebP or AVIF for web delivery as well; converting a damaged JPG to PNG will not restore lost detail.
Reference for this answer: MDN image format reference.
JPG vs PNG is the oldest format debate on the web, and it still causes more wrong choices than any other. The two formats solve different problems. JPEG compresses photographs with small, usually invisible losses. PNG stores graphics pixel-perfect with full transparency. Pick the one that matches your content type and you get the best quality at the smallest size. Pick the wrong one and you either ship blurry text or files three times larger than they need to be.
This guide compares them head-to-head: how each compression model works, transparency, color depth, real file sizes for the same image saved both ways, metadata, browser support, and the settings that matter for each. It closes with the hybrid workflow professionals use and the misconceptions that keep this debate alive.
The 30-Second Answer
| Content | Use | Why |
|---|---|---|
| Photographs | JPG | Lossy compression fits camera noise and gradients well |
| Screenshots | PNG | Lossless keeps text sharp, usually smaller than JPG |
| Logos and icons | PNG | Sharp edges plus optional transparency |
| Images needing transparency | PNG | JPG has no alpha channel |
| Images for editing | PNG or TIFF | No generation loss between saves |
| Final web delivery of photos | JPG | Smallest at acceptable quality |
Both formats work in every browser made this century. Support is never the deciding factor. Content type is.
Two Different Compression Models
The whole JPG vs PNG question comes down to one difference: JPEG throws information away on purpose, and PNG does not.
JPEG: Lossy DCT Compression
JPEG splits the image into 8×8 pixel blocks. Each block goes through a discrete cosine transform (DCT), which converts pixel values into frequency values. Human eyes notice some frequencies more than others, so the encoder discards or coarsens the rest. The result then passes through entropy coding to shrink further.
Three properties follow from this design:
- Loss is permanent. Save a JPEG, reopen it, save again, and quality drops again. This is called generation loss.
- Sharp edges suffer most. DCT assumes smooth gradients. Hard edges between text and background spread ringing artifacts across neighboring blocks.
- Chroma is often halved. Most encoders default to 4:2:0 chroma subsampling, which stores color at half the horizontal and vertical resolution of brightness. Fine red text on a white background shows this clearly.
PNG: Lossless DEFLATE Compression
PNG filters each row of pixels, then compresses the result with DEFLATE, the same algorithm as ZIP files. Nothing is discarded. Decode a PNG a thousand times and you get exactly the same pixels every time.
DEFLATE finds repeated byte patterns. It is excellent when neighbors repeat: flat backgrounds, solid fills, text on plain colors. It struggles with camera noise, where almost every pixel differs slightly from its neighbor. That is why a photo saved as PNG can be five to ten times larger than the same photo as a quality-85 JPEG, while a screenshot saved as PNG is often smaller than the JPEG version.
Transparency: None vs Full Alpha
JPEG has no alpha channel. A JPEG pixel is always fully opaque. If you need soft edges, rounded corners, or an image that sits on any background, JPEG cannot do it. Designers work around this by baking a white background into the file, which breaks the moment the page background changes.
PNG supports a full 8-bit alpha channel: 256 levels of opacity per pixel. Anti-aliased logo edges blend smoothly into whatever sits behind them. This single feature decides most logo and icon work before size even enters the discussion.
One caveat: PNG’s alpha support makes it the natural choice for overlays, but if you later flatten to a known background, a well-tuned JPEG of that flattened image may be smaller. Decide based on whether the background can change.
Color Depth and Color Model
| Property | JPEG (baseline) | PNG |
|---|---|---|
| Bit depth | 8 bits per channel | Up to 16 bits per channel |
| Color model | YCbCr | RGB or grayscale (indexed possible) |
| Chroma subsampling | Commonly 4:2:0 or 4:4:4 | Not applicable |
| Alpha | None | Full 8-bit alpha |
| Max colors | ~16.7 million (lossy) | Truecolor or palette up to 256 |
Baseline JPEG stores 8-bit YCbCr. Brightness gets more bits than color because eyes are more sensitive to brightness. At 4:2:0 subsampling, effective color resolution drops to a quarter. For photographs this is invisible. For thin colored lines and text it produces visible fringing.
PNG stores RGB directly, optionally at 16 bits per channel. Editing workflows benefit: heavy adjustments on 8-bit data can band, while 16-bit headroom absorbs the rounding errors. PNG also supports indexed mode, where a palette of up to 256 colors replaces truecolor. Flat-color graphics shrink dramatically in indexed mode.
File Size: Same Image, Saved Both Ways
Format debates need numbers. We took one 1920×1080 scene and saved it twice: once as a detailed photograph, once as a flat UI screenshot with text. Typical results look like this. Your exact numbers vary with content, encoder, and settings.
Saved as a photograph (rich detail, noise, gradients):
| Format and settings | Approximate size |
|---|---|
| PNG, 24-bit truecolor | ~2.4 MB |
| JPG, quality 95 | ~520 KB |
| JPG, quality 85 | ~340 KB |
| JPG, quality 75 | ~220 KB |
| JPG, quality 60 | ~160 KB |
Saved as a screenshot (flat colors, text, hard edges):
| Format and settings | Approximate size |
|---|---|
| PNG, 24-bit truecolor | ~190 KB |
| PNG, quantized to 256 colors | ~70 KB |
| JPG, quality 95 | ~430 KB |
| JPG, quality 85 | ~300 KB |
| JPG, quality 75 | ~230 KB |
Two lessons sit in these tables:
- For photos, JPG wins by roughly an order of magnitude. Even maximum-quality JPEG beats PNG several times over, because DEFLATE cannot compress sensor noise.
- For screenshots, PNG wins on both size and quality. The JPEG versions are larger and show ringing around text. This surprises people who assume smaller always means worse.
When JPG Wins
Use JPG when all of these hold:
- The image is photographic: people, landscapes, products, food.
- It has no transparency requirement.
- It will be delivered as-is, not re-edited repeatedly.
- You control the export quality setting.
Photographs contain high-frequency noise that lossy DCT handles gracefully. The eye forgives small high-frequency errors far more than it forgives blockiness or banding, which is what lossless formats forced to extreme sizes produce. A quality-80 JPEG of a portrait looks essentially identical to the original at normal viewing sizes and costs a fraction of the bytes.
Product photography deserves special mention. E-commerce images are photos, so JPG is right, but set quality 85 or higher. Compression artifacts on fabric texture and skin are the first thing customers notice on large product shots.
When PNG Wins
Use PNG when any of these hold:
- The image contains text, line art, diagrams, or UI elements.
- Edges must stay perfectly sharp.
- You need transparency.
- The image will be edited and resaved multiple times.
- The palette is naturally limited (flat illustrations, charts).
Screenshots are the clearest case. Text rendered at native resolution has hard edges that DCT smears. A JPEG screenshot at any quality shows fuzzy glyph edges and mosquito noise along window borders, while the PNG version is pixel-perfect and typically smaller. Every operating system knows this: macOS, Windows, and Linux all default to PNG for screenshots.
Logos follow the same logic, with transparency added. An anti-aliased logo on transparent ground composites cleanly onto any page background. Export it as JPG and you must choose a background color forever.
Quality Settings That Matter
Getting JPG Right
Quality sliders are not percentages, and numbers are not comparable across encoders. Still, practical ranges hold:
| Quality | Use for |
|---|---|
| 90–95 | Master copies, print handoffs, archival delivery |
| 80–88 | Web photos; the sweet spot for most sites |
| 60–79 | Thumbnails, previews, bandwidth-constrained delivery |
| Below 50 | Rarely justified; artifacts become obvious |
Two encoder upgrades are worth knowing:
# mozjpeg optimizes JPEG without changing visual quality much
cjpeg -quality 82 -outfile photo.jpg photo.png

# ImageMagick with 4:4:4 chroma keeps colored text clean
magick input.png -sampling-factor 4:4:4 -quality 85 output.jpg
Mozjpeg typically cuts 10–30% off file size at matched perceived quality compared with default encoders. Turning chroma subsampling off costs some bytes but removes color fringing on text and thin lines. For a deeper dive, see the JPEG optimization guide linked below.
Getting PNG Right
PNG size depends on the toolchain more than the format:
# Quantize flat-color graphics to a 256-color palette
pngquant --quality=65-80 screenshot.png

# Lossless recompression: same pixels, smaller file
zopflipng -y input.png output.png

# ImageMagick: strip metadata and maximize compression
magick input.png -strip -define png:compression-level=9 output.png
pngquant converts truecolor to a smart 256-color palette. On flat UI graphics and illustrations it routinely halves the file with no visible change. On photographs it bands visibly, which is another way of saying PNG is the wrong tool there. The PNG optimization and transparency guide covers the full pipeline.
Metadata Handling
JPG and PNG treat metadata differently, and the differences matter for privacy and performance.
JPG carries EXIF data natively: camera model, exposure settings, GPS coordinates, timestamps, thumbnails. Photo workflows depend on EXIF. Web delivery usually should not: GPS tags leak location, and embedded thumbnails add dead weight. Strip metadata on export for anything public-facing.
PNG supports textual metadata chunks and can carry EXIF since the 2017 eXIf chunk standard, but tool support is uneven. Many PNG exporters write no metadata at all, which quietly solves the privacy problem. Do not rely on that: verify with a quick check.
# Inspect metadata on any image
exiftool photo.jpg

# Remove all metadata before publishing
magick input.jpg -strip output.jpg
Rule of thumb: keep full metadata on masters, strip everything on published files. Your pages load faster and nobody learns where your home office is.
Browser Support
Support is a non-issue for both formats. Every browser since roughly Internet Explorer 4 renders JPEG, and every browser since IE 4-era Netscape renders PNG, including full alpha after the old IE6 transparency bug died. Mobile, desktop, email clients, and every image CDN handle both.
When people say “browser support” in a JPG vs PNG discussion, they usually mean the modern formats: WebP, AVIF, JPEG XL. Those have real compatibility questions. JPG and PNG do not. Choose between them on content type alone.
The Hybrid Workflow Professionals Use
The strongest answer to JPG vs PNG is that they serve different stages of the same pipeline, not competing ends:
- Shoot RAW. The camera RAW file holds maximum sensor data. Never discard it.
- Edit in a lossless format. Work in TIFF or PNG during editing. Every save is pixel-perfect, so fifty adjustment rounds cost nothing. Editing directly in JPG accumulates generation loss with every save.
- Export masters as high-quality JPG or PNG. Quality 92–95 JPG for photos, PNG for graphics. These are your distribution masters.
- Derive web assets from masters. Resize and compress per placement: quality 80–85 JPG for hero photos, optimized PNG for logos and screenshots.
# Step 4 in practice: web derivative from a master
magick master.png -resize 1600x -quality 82 web-photo.jpg
magick master.png -resize 512x logo-web.png
This workflow answers the “which format” question permanently: the editing stage uses lossless, the delivery stage uses whichever lossy-or-lossless format matches the content. For AI-assisted cleanup and background removal on masters before export, tools like Sirv Studio handle the edit step without touching your originals.
Common Misconceptions
“Renaming .png to .jpg converts it”
It does not. Extensions are labels, not instructions. Rename photo.png to photo.jpg and you have a PNG with a misleading name; some software opens it fine, other software refuses. Actual conversion requires re-encoding, and converting PNG to JPG flattens transparency to black or white. The same logic applies to the JPEG/JPG name confusion covered in the naming guide: those two extensions are genuinely identical, PNG and JPG are not.
“PNG is better quality, so use it for photos”
PNG is lossless, so its pixels are perfect. But “perfect pixels of a noisy photograph” compress terribly, and the eye cannot see the difference at reasonable JPEG qualities anyway. You pay five to ten times the bytes for fidelity nobody perceives. Worse, many pipelines auto-compress large images aggressively, so the huge PNG gets squeezed downstream anyway. Quality-per-byte belongs to JPG for photographic content. This is the single most common mistake in the entire debate.
“JPG makes files smaller, so use it for logos”
Backwards for graphics. As the screenshot table showed, JPEG of flat-color, hard-edged content is often larger than the PNG, while adding ringing artifacts around every edge. DEFLATE eats flat regions for breakfast; DCT chokes on their edges. Logos, icons, diagrams, and screenshots belong to PNG on both axes: smaller and sharper.
“You must pick one format for your whole site”
No. Match format to content per image. A product page typically mixes JPG hero photography, PNG logos, and PNG screenshots of the interface. Consistency within a content type matters; consistency across all images does not.
“Higher JPEG quality number always means better-looking images”
Quality numbers are relative to the encoder. Quality 80 in mozjpeg often looks better than quality 85 from a phone’s built-in exporter, at a smaller size. Judge output by looking at it, especially at edges and gradients, not by the number in the export dialog.
Quick Decision Checklist
Run any image through these questions in order:
- Does it need transparency? Yes → PNG.
- Is it a photograph? Yes → JPG at quality 80–88.
- Does it contain text, lines, or flat color? Yes → PNG (try palette mode).
- Will it be re-edited? Yes → PNG or TIFF until final export.
- Still unsure? Export both, compare size and edge quality, pick the winner.
Where to Go Next
This comparison is one branch of a bigger tree. Three companions round out the picture:
- JPEG vs JPG — the extension-name trap that starts half of these debates. Spoiler: nothing to convert.
- Image File Types Explained — all twelve major formats compared, including WebP, AVIF, HEIC, and GIF.
- PNG Optimization and Transparency and JPEG Optimization Mastery — once you picked the format, squeeze it properly.
And when your gallery needs zoomable, spin-ready presentation on top of correct formats, the Sirv Media Viewer documentation covers the display layer, while the Sirv signup gets you a CDN that serves both formats optimized automatically.