Adobe DNG Converter: A Complete Guide to the Digital Negative Format
The free Adobe DNG Converter explained: how DNG works, lossless against lossy DNG, batch conversion, and when you should not convert at all.
Disclosure: ImageGuide is published by Sirv, an image CDN company. This guide mentions Sirv products. Read how we write these guides.
Quick answer
Adobe DNG Converter turns supported camera RAW files into Digital Negative files for compatible editing software. It does not develop the photograph into a finished JPEG. Keep the original RAW file, check camera support and conversion settings, then use a RAW editor for exposure, color, and web export.
Reference for this answer: Adobe DNG documentation.
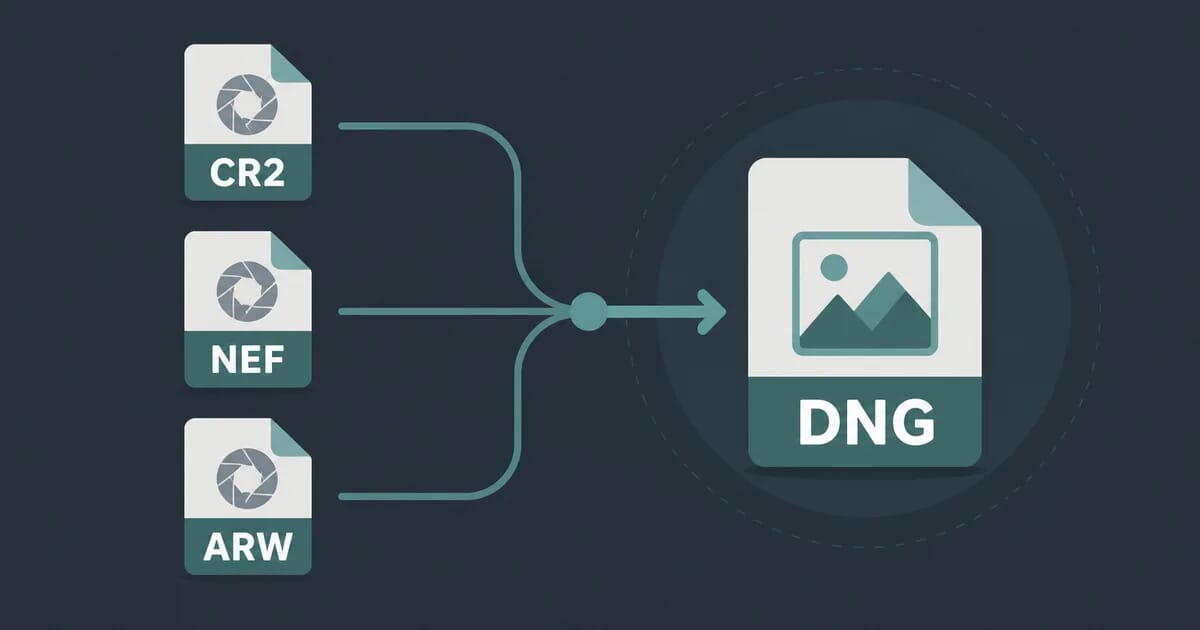
Camera manufacturers each invented their own RAW format: CR2 and CR3 for Canon, NEF and NRW for Nikon, ARW for Sony, RAF for Fujifilm, ORF for Olympus. Every one of them is a partially documented, proprietary container that only the manufacturer fully understands. The Adobe Digital Negative Converter exists to fix that. It converts any of these formats into DNG — Adobe’s openly documented “digital negative” specification — so your RAW archives do not depend on a single company’s goodwill or a discontinued camera line.
This guide covers what DNG actually is, when converting makes sense, a full walkthrough of the free Adobe DNG Converter tool, the options that matter (lossless vs lossy, fast-load previews, embedding the original RAW), and the cases where you should leave your files alone.
What Is a Digital Negative (DNG)?
DNG stands for Digital Negative. Adobe published the specification in 2004 and released it as an openly documented format. The idea is simple: a DNG file uses the TIFF container format and stores the same sensor data as your camera’s native RAW file, plus the metadata needed to develop it.
The key word is documented. A CR2 file is readable today because Adobe and other software vendors reverse-engineered it or licensed details from Canon. A DNG file is readable because the full specification is public. Any developer, in any decade, can write a decoder from the spec alone.
What DNG is not
- It is not a compressed image format like JPEG. The sensor data is preserved.
- It is not a proprietary Adobe lock-in. Despite the name “Adobe DNG,” no license or Adobe software is required to read it. Free tools like
dcraw,rawpy, and darktable all support it. - It is not a different kind of RAW. It is the same measurement data in a neutral container.
Think of it as the archival equivalent of what PDF did for documents: a common, documented target that outlives the software that made the original.
Why Convert to DNG? Four Real Reasons
1. Archival safety
This is the strongest argument. Your CR3 or ARW files depend on the manufacturer continuing to matter and on the reverse-engineering community keeping decoders alive. DNG’s public specification removes that dependency. For archives meant to outlive you — wedding work, family photos, client deliverables — that matters.
2. Smaller files with lossless compression
Most camera RAW files are lightly compressed or uncompressed. DNG supports lossless compression that typically reduces file size by roughly 15–30% with zero quality loss. On a 2 TB archive, that is meaningful. Adobe’s lossy DNG option (covered below) goes further, but changes the data — treat it separately.
3. Faster loading with embedded previews
DNG can embed a full-size preview rendered at conversion time. When you browse a folder of DNGs in Lightroom, Bridge, or your OS file manager, it reads the embedded preview instead of rendering the RAW from scratch. On large libraries this noticeably speeds up grid view and culling.
4. Compatibility across software and time
Some RAW developers support a camera’s files only after a profile update. A DNG converted with a recent Adobe DNG Converter carries the data in a form that current tools already understand. Older or niche software that chokes on a brand-new camera’s proprietary format will often open its DNG fine.
The Adobe DNG Converter: Free and Standalone
Adobe DNG Converter is a free download from Adobe’s site. Two things surprise people:
- It is genuinely free. No Creative Cloud subscription, no account, no watermark. It is a standalone utility, not part of Lightroom or Photoshop.
- It is lightweight. The download is tens of megabytes, it runs on macOS and Windows, and it does not install background services.
Adobe updates it on the same cadence as Camera Raw. When a new camera ships, the DNG Converter update is what adds support for that camera’s RAW files. If you buy a new camera and the converter cannot read its files, update the converter first.
Walkthrough: converting your first batch
The interface has not changed much in years, which is a compliment.
- Launch Adobe DNG Converter.
- Select the files. Click Change Source (or drag a folder in). You can point it at a folder and choose to include subfolders, or select specific files.
- Choose a destination. Click Change Destination. By default it writes next to the originals. For an archival pass, pick a separate folder so nothing overwrites.
- Pick a naming pattern. The default keeps the original filename with a
.dngextension. You can add a prefix or suffix — useful for marking converted archives, for exampleIMG_4031_archive.dng. - Open Preferences and set your DNG options (detailed in the next section). For pure archival use: lossless compression on, original RAW embedding on, fast-load preview at full size.
- Click Convert. The converter processes files sequentially and reports progress. A card of 200 RAW files typically takes a few minutes on a modern machine; throughput depends on sensor resolution and your storage speed.
- Spot-check the results. Open a few converted files in your RAW developer and compare against the originals at 100% zoom before you trust the batch.
Command-line batch conversion
Adobe DNG Converter is also a command-line tool, which makes it scriptable. On macOS:
# Convert every CR2 in ~/Photos/2026 into ~/DNG/
"/Applications/Adobe DNG Converter.app/Contents/MacOS/Adobe DNG Converter" \
  -c -d ~/DNG ~/Photos/2026/*.CR2
Useful flags:
| Flag | Meaning |
|---|---|
-c | Compress the DNG (lossless) |
-d <dir> | Destination directory |
-o | Overwrite existing files without asking |
-p <size> | Preview size: none, medium, full |
-e | Embed the original RAW file inside the DNG |
-l | Use lossy DNG compression (see warnings below) |
A full archival pass over a year of shoots is then one line in a shell script. On Windows the executable lives in Program Files\Adobe\Adobe DNG Converter.exe and accepts the same flags.
The DNG Options That Matter
When you open Preferences, you get four choices. Here is what each actually does.
Compression: lossless vs lossy
| Lossless | Lossy | |
|---|---|---|
| Sensor data | Identical to original | Discarded (Wavelet compression) |
| Typical size reduction | ~15–30% smaller | Often 3–4× smaller than the native RAW |
| Edit latitude | Full | Reduced; aggressive shadow/highlight recovery degrades |
| Use case | Archival, professional work | Large personal libraries, delivered proofs |
Default to lossless. It is mathematically reversible in terms of information: the developed image is identical. Lossy DNG is a legitimate choice for high-volume personal libraries where you will never push extreme edits, but it is a one-way door — the discarded data is gone. Never convert client work or your best shots to lossy DNG.
Embed original RAW file
This option tucks the complete original CR2/NEF/ARW file inside the DNG container. The result is a single self-contained file — slightly larger than the original plus a DNG separately, since there is some container overhead, but close.
This is the “keep original + DNG” strategy in one file:
- You get DNG’s compatibility and documented format.
- You keep a byte-perfect copy of the manufacturer RAW for purists, insurance, or future re-extraction (the converter and several tools can extract the original back out).
The cost is size. If storage is cheap and the archive is precious, embedding the original is the safest single-file option. If storage is tight, keep originals on cold storage and convert working copies to compressed DNG without embedding.
Fast-load (embedded) previews
Options are none, medium, or full size. A full-size preview is rendered once at conversion time using Adobe’s demosaic, then stored in the file. Browsers and culling tools then display instantly.
Trade-offs: full-size previews add roughly the size of a JPEG of that image to each file, and the preview is rendered with conversion-time settings — it is a preview, not your edit. Lightroom renders its own previews for the Develop module regardless. For culling speed on large libraries, full size wins. For minimum file size, choose none.
Compatibility: linearize
A rarely-needed option that bakes in some demosaic processing for older software. Leave it off unless you have a specific legacy tool that requires it.
DNG in the Lightroom and Camera Raw Workflow
If you use Lightroom Classic, there are two ways DNG enters your life:
- Convert after import. Import native RAWs normally, then use Library → Convert Photos to DNG. This rewrites files in place (with the originals deleted by default — uncheck that if you want to keep them).
- Convert before import. Run Adobe DNG Converter first, then import the DNGs. This gives you full control over the options and keeps the process separate from your catalog.
For existing libraries, converting after import is convenient. For new ingest, converting before import with a script is cleaner and works even if you later switch catalog software.
Inside Camera Raw, a DNG behaves like any RAW: full white balance range, demosaic control, and non-destructive edits stored as sidecar data or in the DNG itself (DNG can store the develop settings internally, which keeps a folder fully portable — edits and all — with no XMP sidecar files).
One workflow note: DNG is a negative, not a deliverable. Your final images still need developing and exporting — typically to JPEG for web and social, or TIFF for print. If that final step is your focus, see our guide on turning RAW files into JPEGs.
DNG vs Native RAW: Side by Side
The two formats carry the same sensor data, so the differences are all about the container. Here is how they compare in practice:
| Aspect | Native RAW (CR3, NEF, ARW…) | DNG |
|---|---|---|
| Specification | Proprietary, partially documented | Open, fully documented |
| Typical size | Baseline | ~15–30% smaller with lossless compression |
| Embedded preview | Small JPEG thumbnail (usually) | Optional full-size fast-load preview |
| Edit settings | XMP sidecar or catalog database | Can be stored inside the file |
| New-camera support | Requires software update per vendor | Works once converted with a current converter |
| Extraction back to original | Not applicable | Possible if original was embedded |
| Manufacturer utilities | Full support | Varies; some features may be absent |
Two rows deserve emphasis. First, edit settings: a DNG that stores its develop settings internally is fully portable — copy it to another machine and your edits travel with the file, no sidecars, no catalog dependency. Second, extraction: if you embed the original RAW and later change your mind, the converter and several third-party tools can pull the untouched original back out. That reversibility is what makes conversion a low-regret decision.
The one column where native RAW wins is manufacturer integration. Camera vendor software — Canon Digital Photo Professional, Nikon NX Studio, Sony Imaging Edge — is built around their own formats. If your workflow depends on those tools for specific corrections or composites, keep the native files for that work and treat DNG as the archive layer.
Pitfalls and Honest Caveats
DNG conversion is safe, but it is not magic. Know these before a mass conversion:
Some camera-specific features may not survive
A native RAW file can carry manufacturer-proprietary metadata: dual-pixel data, pixel-shift/HDR composites, manufacturer-specific lens corrections, or focus-stacking information. DNG’s documented spec cannot represent every proprietary extension, and the converter may drop or approximate some of it. If your camera has exotic capture modes, verify that the developed result of converted files matches what your manufacturer’s own software produces before committing an archive.
The manufacturer RAW vs DNG debate
Some photographers argue you should keep native RAW forever because it is “the original sensor data exactly as the camera wrote it.” That is a fair archival stance — it is precisely why the embed original RAW option exists. The pragmatic middle ground most working photographers land on: convert to lossless DNG with the original embedded, or convert working files and keep originals untouched on cold storage.
When NOT to convert
- Active shoots mid-workflow. Converting a card you are still editing churns files under your catalog. Finish the edit, then convert.
- Files your software depends on in native form. Some tethering and manufacturer utilities only read native RAW. Check your tools first.
- Lossy DNG for anything you might push hard. Shadow recovery and heavy grading on lossy DNG show artifacts sooner.
- Pixel-shift and multi-frame composites. Many of these workflows are manufacturer-software-only; converting the individual frames can strand the composite workflow.
The safe conversion strategy
For a serious archive, do this:
- Leave the original native RAW files untouched on at least one drive (ideally two, plus offsite).
- Convert a copy to compressed lossless DNG with full-size fast-load previews.
- Verify a sample at 100% zoom in your RAW developer.
- Only then decide whether to retire the native copies or keep them as cold-storage originals.
This costs storage but removes every risk: you get DNG’s benefits with a byte-perfect escape hatch.
Converting DNG Onward: JPEG and Web Delivery
A DNG is an intermediate. Sooner or later you develop it and export a deliverable:
- JPEG for web galleries, social, and client previews. Export at quality 80–90 and sRGB.
- TIFF or PNG for further editing or lossless handoff.
- WebP or AVIF for performance-sensitive web delivery.
Lightroom, Camera Raw, Capture One, darktable, and RawTherapee all read DNG directly — export from whichever you develop in. For publishing galleries online, a fast, zoomable viewer makes a real difference in how clients perceive the work; the Sirv Media Viewer handles galleries, zoom, and 360 spins from a single image pipeline. And if you are building a portfolio site, pairing properly developed DNG exports with clean web formats is the core of good portfolio optimization — see our guide on optimizing a photography portfolio for the web.
For the finishing touches — background removal on product shots or AI-assisted retouching before export — Sirv Studio’s editing tools work on the developed output without another round-trip through a desktop editor.
If you manage images at any volume and want delivery, transformation, and optimization handled for you, it is worth creating a free Sirv account and pointing your exports at it rather than hand-optimizing every file.
Quick Reference: Options Comparison
| Option | Setting | Effect | Recommended for |
|---|---|---|---|
| Compression | Lossless | ~15–30% smaller, data identical | Everyone, always |
| Compression | Lossy | Much smaller, data discarded | Bulk personal libraries |
| Embed original | On | Self-contained archive file | Precious/client archives |
| Embed original | Off | Smaller files, originals kept separately | Working libraries with cold storage |
| Fast-load preview | Full size | Instant browsing, larger files | Large libraries, culling |
| Fast-load preview | None | Minimum size | Cold archives |
| Linearize | Off | No change | Default for nearly everyone |
The Bottom Line
The Adobe Digital Negative Converter is one of the few free tools with no catch: it converts any mainstream camera RAW into a documented, compressed, future-proof container, and it does not ask for a subscription. Convert a verified copy, keep your originals until you are confident, and use lossless compression by default. Your 2036 self, opening an archive on whatever software exists then, will be glad the negatives were documented.